Page 1 of 2
L300 Swing Bumper 1 Day Build <$400!
Posted: Sun Oct 03, 2010 11:51 am
by thedjjack
OK So I got my one day bumper build done. (Has trailer hitch built in)
Costs: -Jeep Bumper $315.00 with taxes (Trail Gear Canada (NSOR))
-Steel to tie Bumper into frame ~$25.00 metal supermart
-Friends 240 volt Mig Priceless (tacked the welds with my 120volt)
Photos:
Old setup (free stock bumper parts please PM):
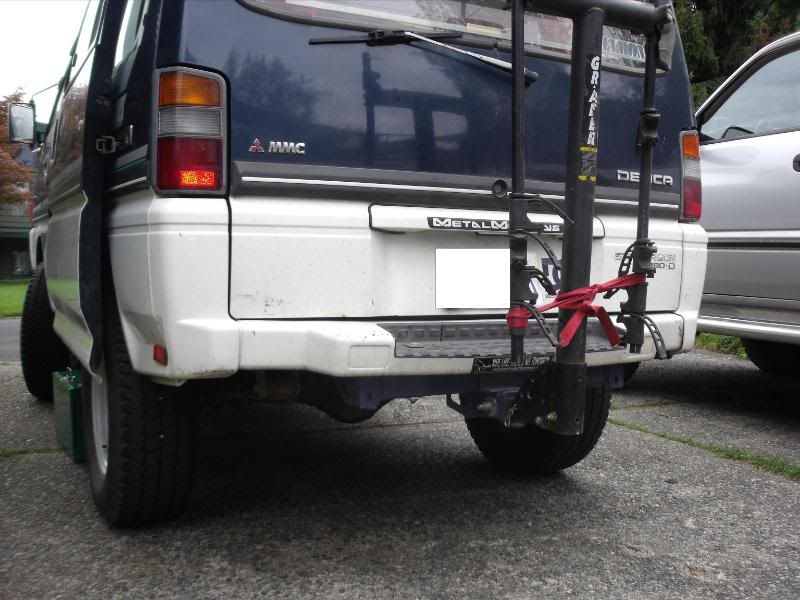
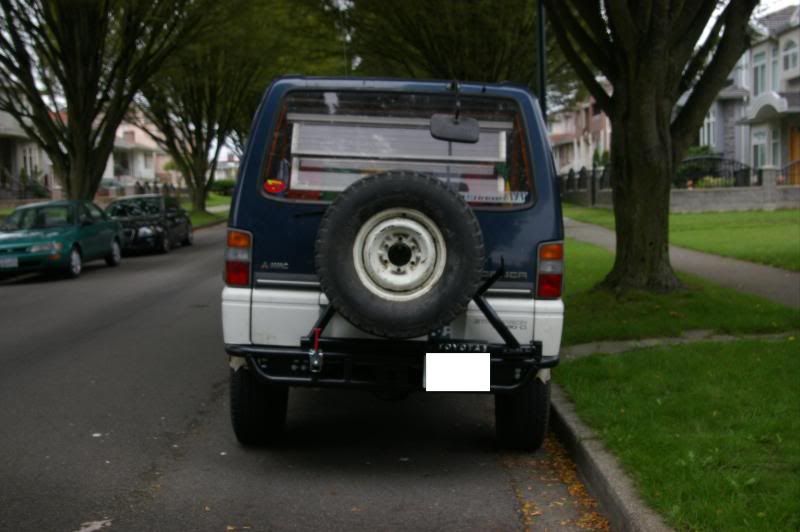
New Bumper!:

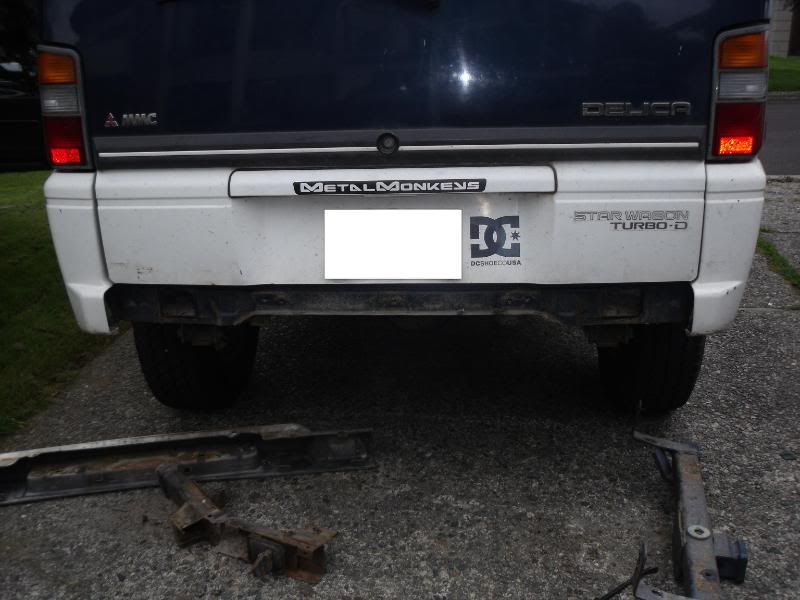
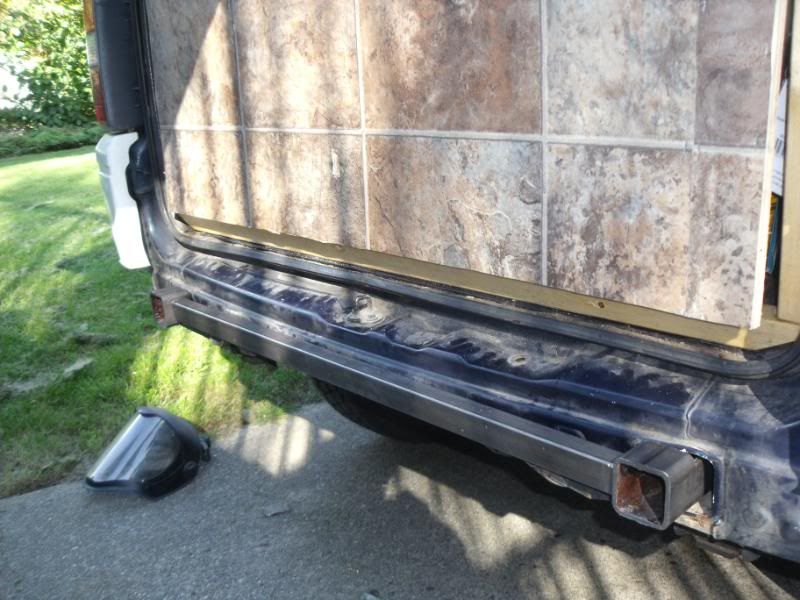
Old bumper off:
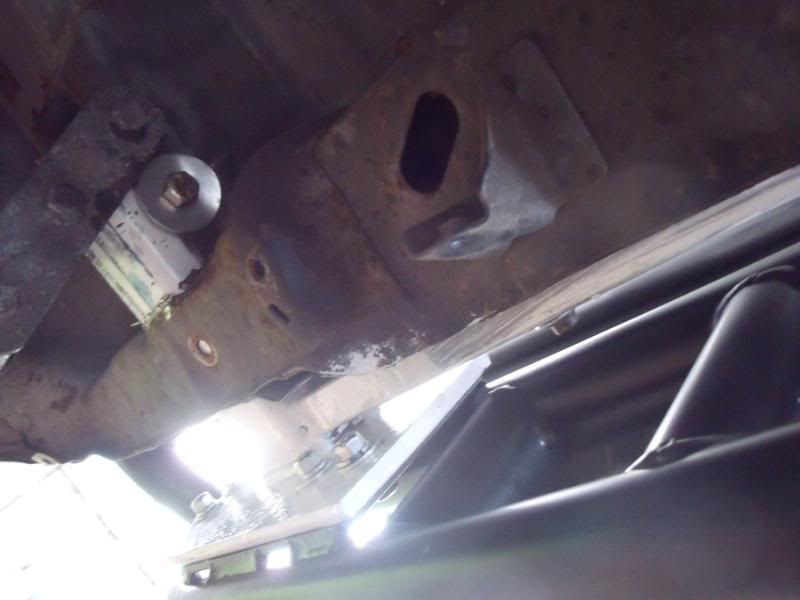
Drilled square hole and punched through to frame so I could connect 2.5 inch square 1/4 tubing to the shackle mounts (not much frame on a unibody!)
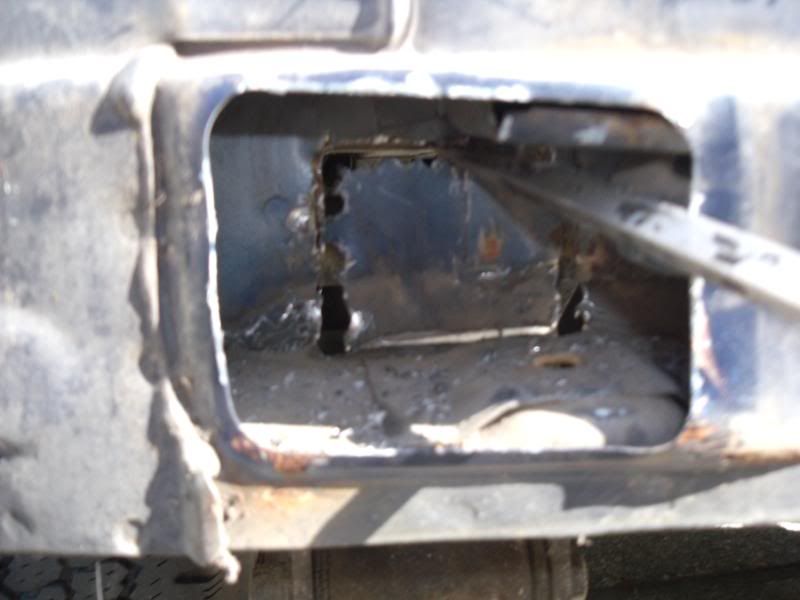
Finished holes
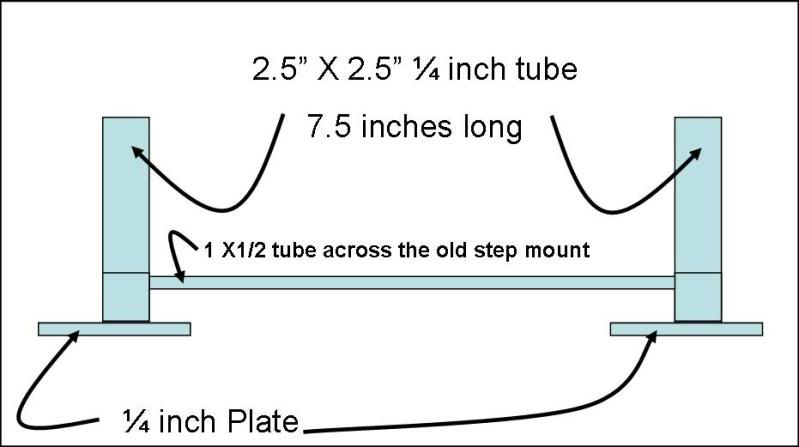
7.5 inch 2.5 square tubing with 5.5 inches of top cut off to make a 2.5X2 inch tube pushed through behind shackles.
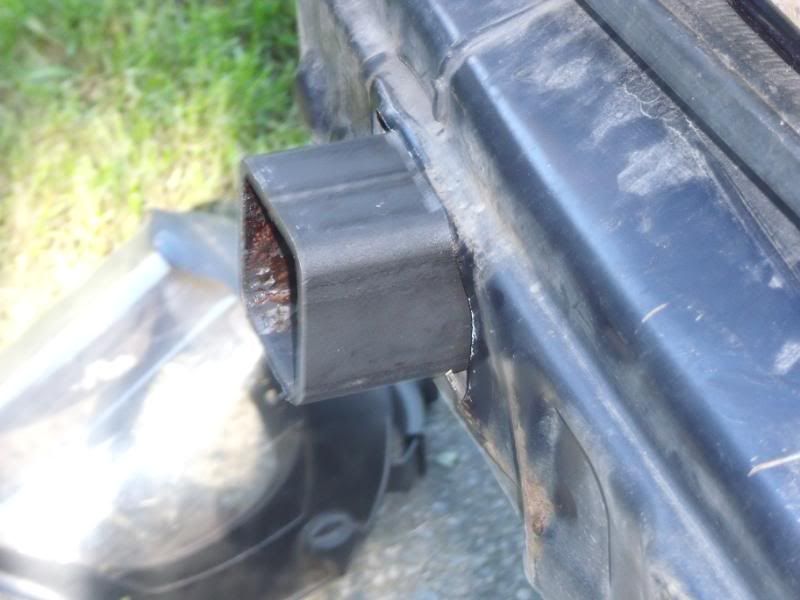
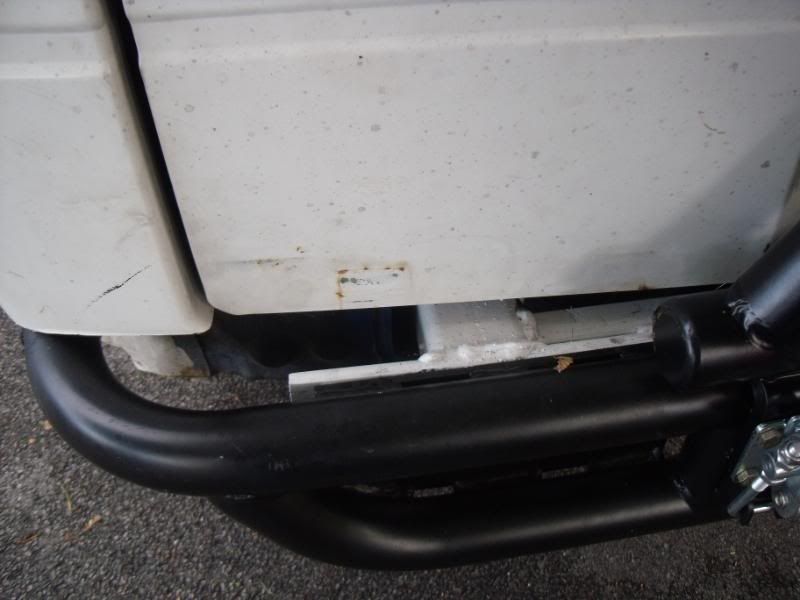
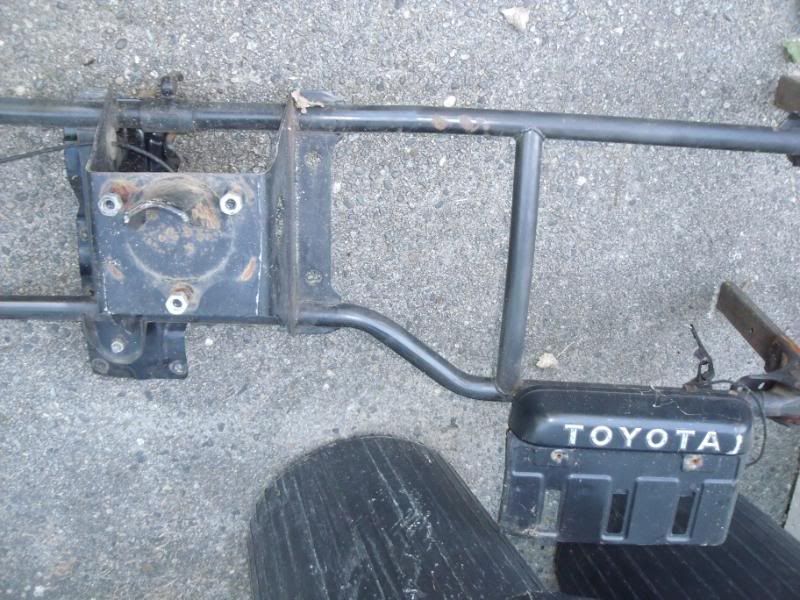
Put a tube between that connects to stock step mounts:
Used a Toyota mount for tire mount (Jeeps are 5 bolt) and License mount:
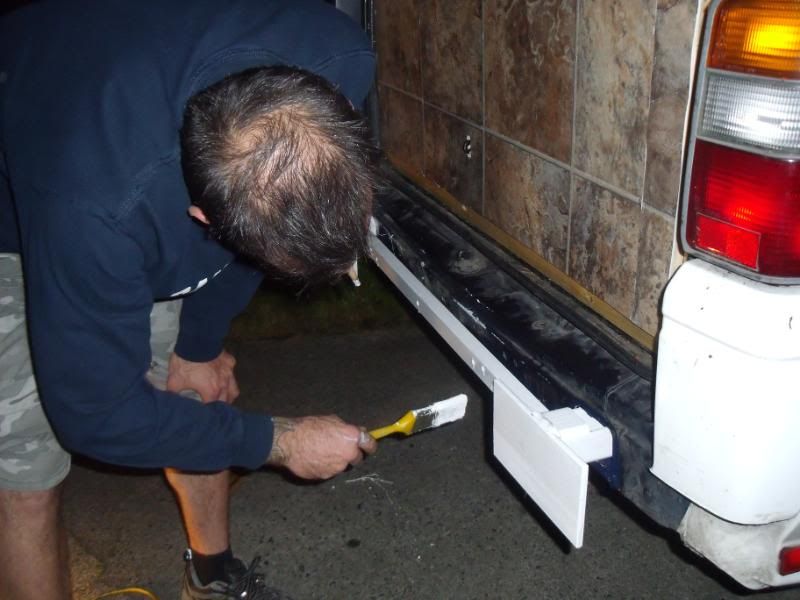
1/4 plots welded in some white Tremclad:
Had to offset bumper 1/4 inch and notch the door 1/4 inch to clear hinge:
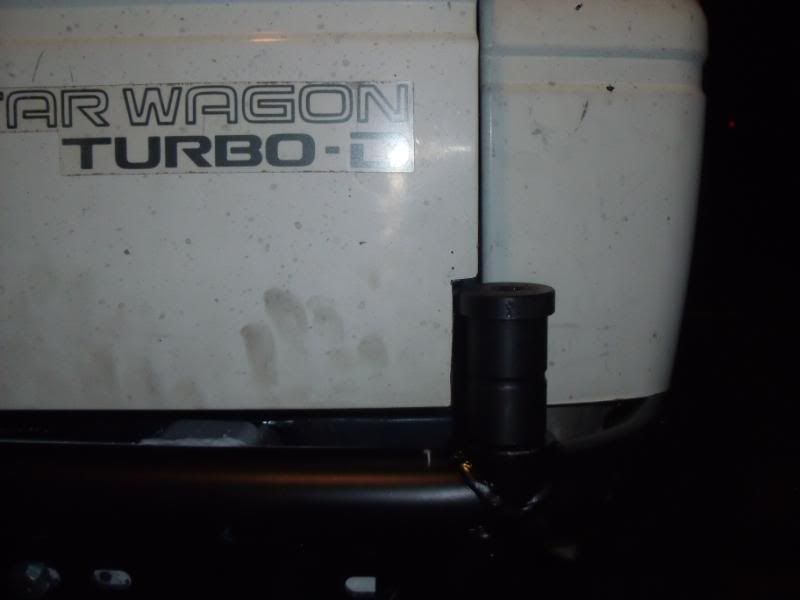
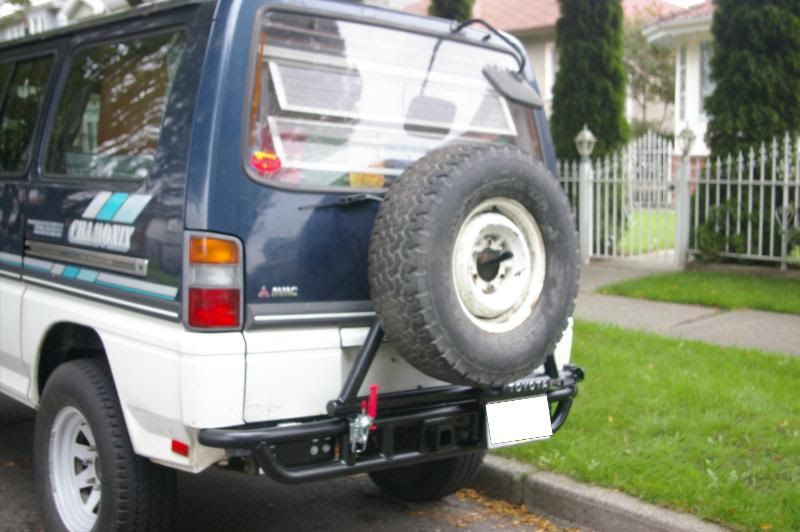
Finished Project:
Re: L300 Swing Bumper 1 Day Build <$400!
Posted: Sun Oct 03, 2010 12:44 pm
by jessef
Creativeness gets you everywhere.

Very nice !
Re: L300 Swing Bumper 1 Day Build <$400!
Posted: Sun Oct 03, 2010 12:54 pm
by Super Exceeded
Looks great, I do however thinkyou're going to confuse a lot of people. Most peiopel already don't know what the 300 is, now you have a toyota badge on the back to make the confusion worse.
Re: L300 Swing Bumper 1 Day Build <$400!
Posted: Sun Oct 03, 2010 2:24 pm
by thedjjack

Toyota does not make the Delica????
LOL, I could take off the Toyota emblem, but where would I get a Mercedes one?
Cheers
Re: L300 Swing Bumper 1 Day Build <$400!
Posted: Sun Oct 03, 2010 2:51 pm
by fexlboi
Very interesting approach!
Any chance to show more detailed photos of how the square tubes are attached from the back? Just welded to the body?
Re: L300 Swing Bumper 1 Day Build <$400!
Posted: Sun Oct 03, 2010 3:21 pm
by thedjjack
I will take some photos later.
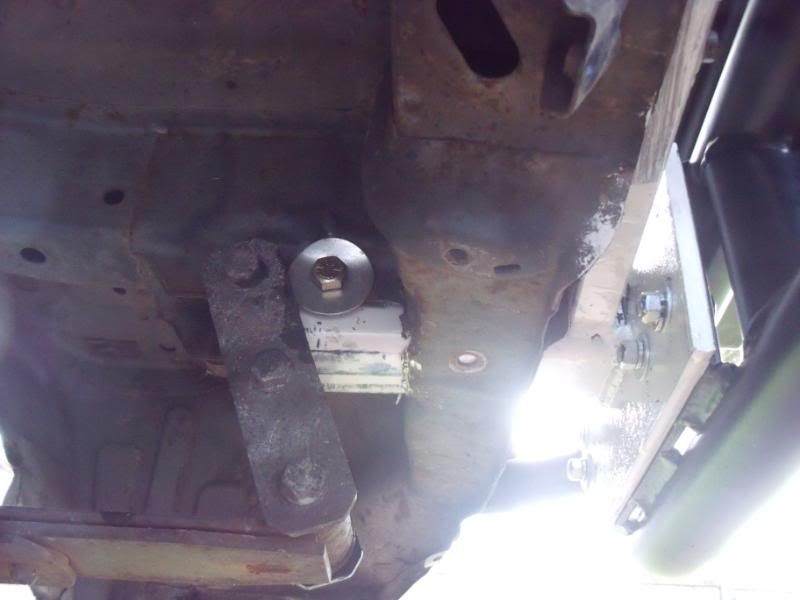
But the tube goes through below the original frame up to the where the bolt for the shackle goes through. I was going to weld it (but technically you cannot weld to a "frame" without being a certified welder. So, I used a single 3/4 bolt on either side.
There really is no real frame to attach anything too.
Cheers
L300 Swing Bumper 1 Day Build <$400!
Posted: Sun Oct 03, 2010 11:23 pm
by jrman
Nice job. Would love to see more pics!
Re: L300 Swing Bumper 1 Day Build <$400!
Posted: Mon Oct 04, 2010 10:38 am
by Dingus
Very nice, much easier access to spare and looks like a solid setup.
Re: L300 Swing Bumper 1 Day Build <$400!
Posted: Mon Oct 04, 2010 5:24 pm
by thedjjack
Re: L300 Swing Bumper 1 Day Build <$400!
Posted: Mon Oct 04, 2010 7:56 pm
by fexlboi
Great thanks! Curious to see how it holds up over the time on rough roads. If its all good I might go down the same route next summer.
Re: L300 Swing Bumper 1 Day Build <$400!
Posted: Mon Oct 04, 2010 8:18 pm
by jessef
Does it not interfere with the shackles ? From the picture's perspective it looks like a tight fit.
Re: L300 Swing Bumper 1 Day Build <$400!
Posted: Mon Oct 04, 2010 9:06 pm
by thedjjack
Keep you posted on how it holds up on rough roads.
Shackles are a non issue as the bolts are inline with the shackle bolts so it would have to move 90 degrees to hit the bolt (shackles will hit the back frame long before that not to mention the bump stops).
Cheers
Re: L300 Swing Bumper 1 Day Build <$400!
Posted: Tue Oct 05, 2010 12:15 pm
by jessef
What's preventing it from pivoting on the single bolt at the shackle and bumping up and down ?
Re: L300 Swing Bumper 1 Day Build <$400!
Posted: Tue Oct 05, 2010 1:20 pm
by thedjjack
The original bumper mount.
1) Square tubing goes through a square hole and is held tight against the original frame above and at the ends (me and a friend could jump on the tubes without a budge (inserted with a BFH (Big #$@('in Hammer)).
2) the tube across the back bolts to the original step support from the original bumper.
Re: L300 Swing Bumper 1 Day Build <$400!
Posted: Wed Oct 06, 2010 12:43 am
by delicat
I really like the idea of using existing kits and making them fit but man, this set up scares me! I'd really need to have a closer look but I'm concerned with stress/fatigue, especially on the thinner plate where the square tube is resting before reaching the shackles. Might work for a while but aie aie aie, I'd love to see you reinforce it! Please prove me wrong!
Nonetheless, I love the look (aside from that Toyo thing at the back) and wish you the best, great set up!
Cheers,
Mr. D