The major part of the current work is 98% finished now, so I thought it time to post a run-down of what I've been up to! Tackling the interior.
Because of my job I need to keep the interior as a van, as functional as possible and as practical as possible. The last Mud Monkey had the floor boarded with ply which was very handy, but I wanted to go one stage further with this interior.
To cut a long LONG story short, I started out with the intention to board the back out with a few 'tie-down' points added in for securing loads, but one thing led to another and I ended up creating a major MAJOR refit which actually took me over 100hrs to complete rather than the 8 or 9 hours I'd originally anticipated.
The following photos do NOT show the amount of work, measuring, research, measuring, swearing, measuring, cutting, measuring, templating, measuring, fabricating, measuring, trimming etc....it took to complete this interior (did I meantion about the amount of measuring??
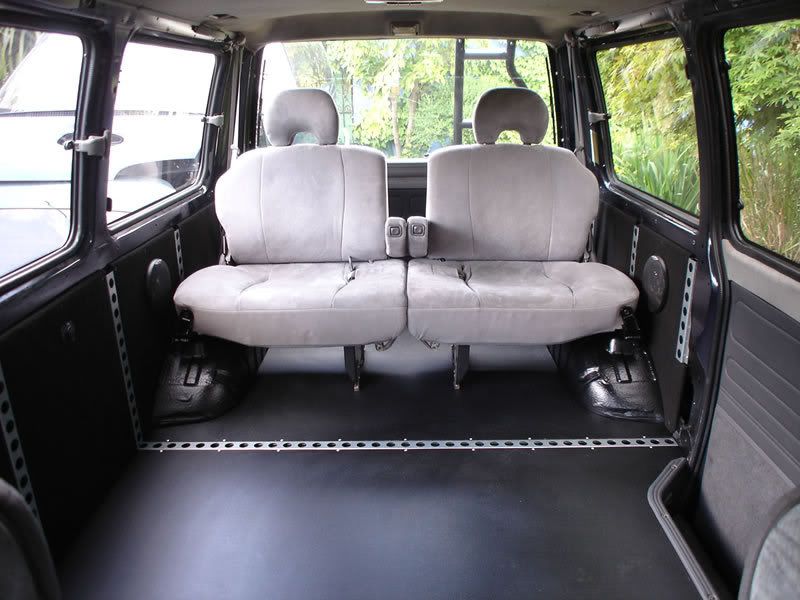
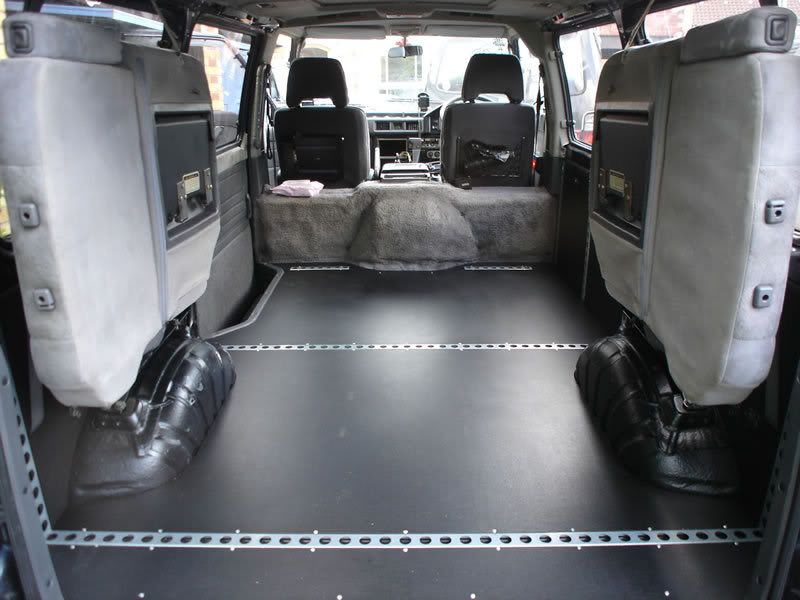
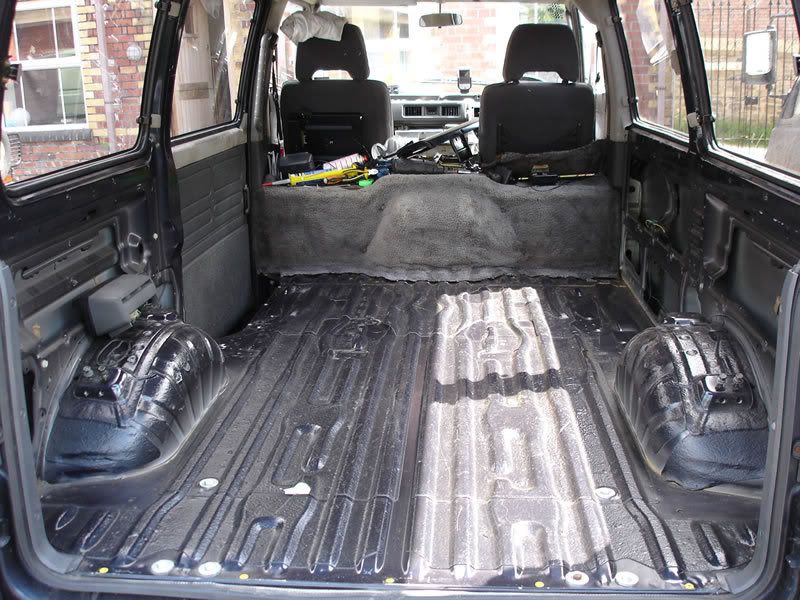
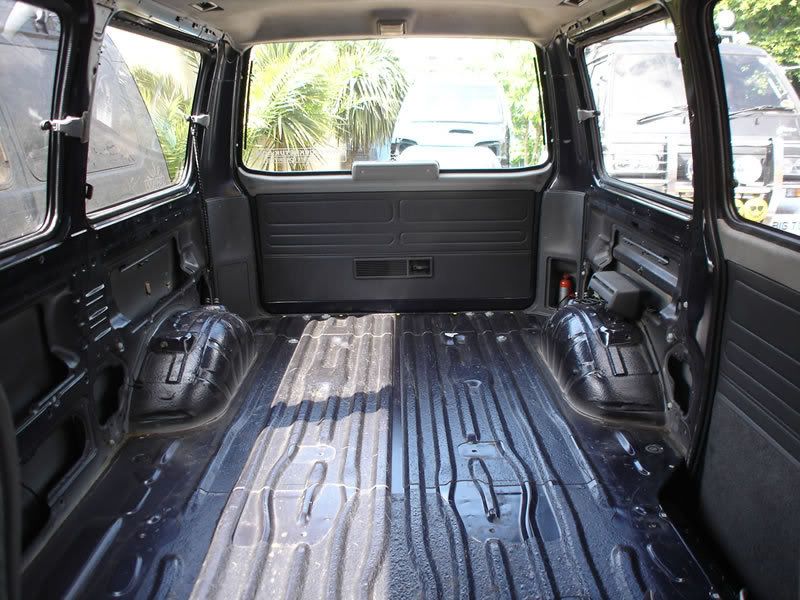
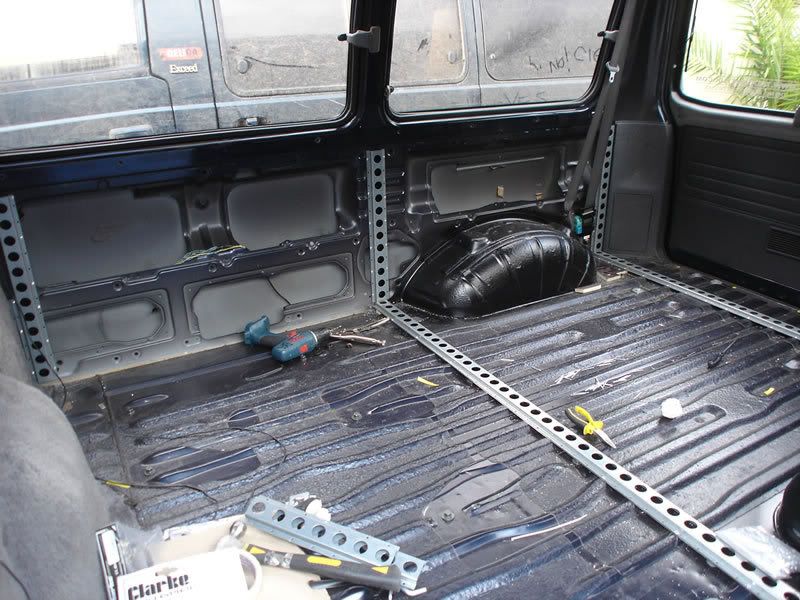
The starting point - a stripped out L300 7 seater interior:
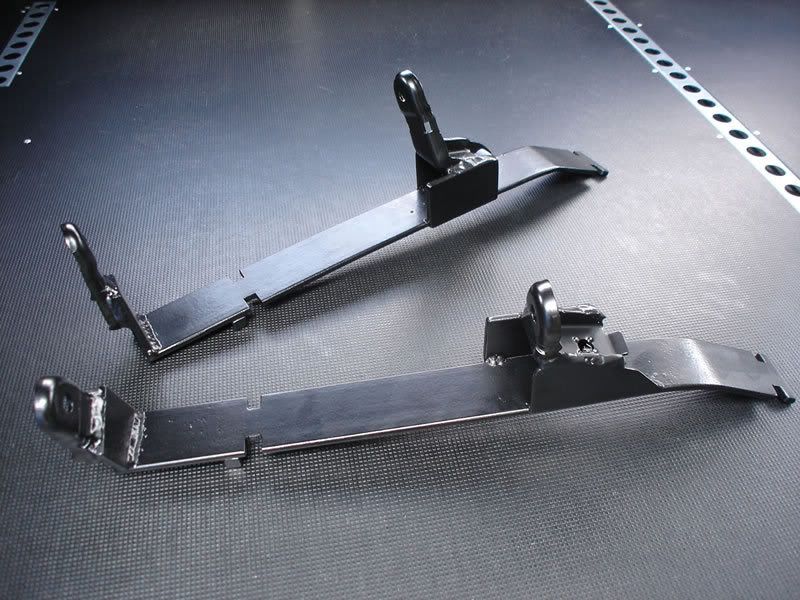
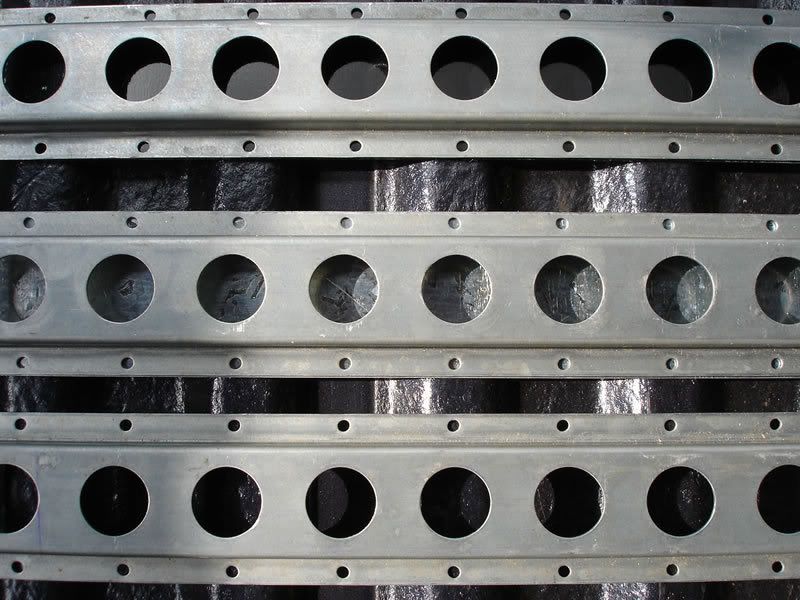
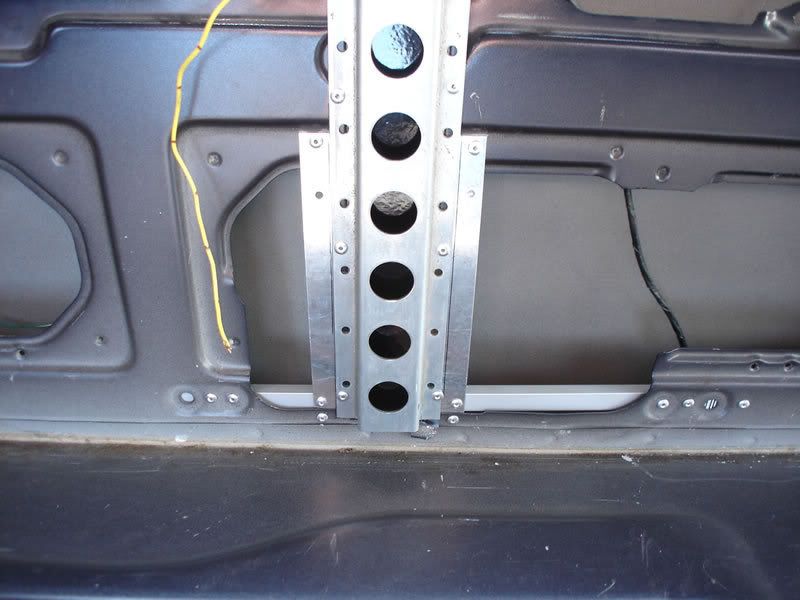
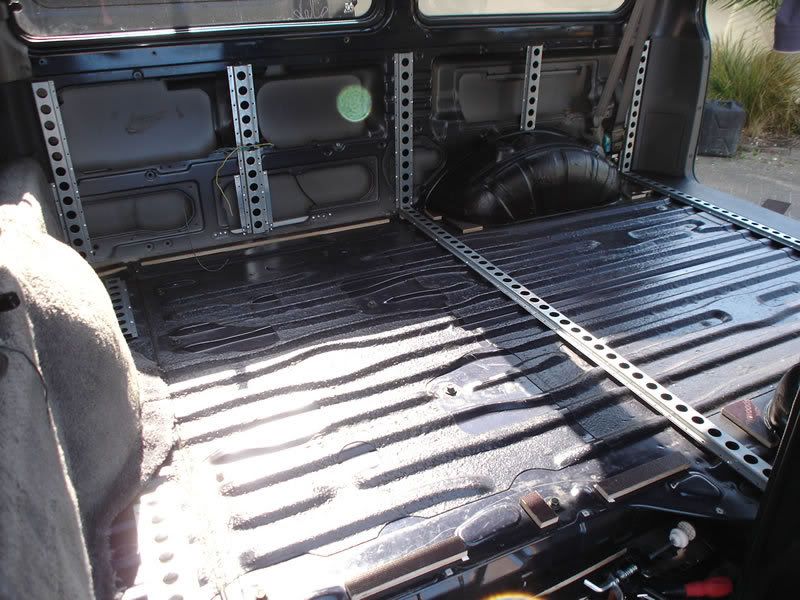
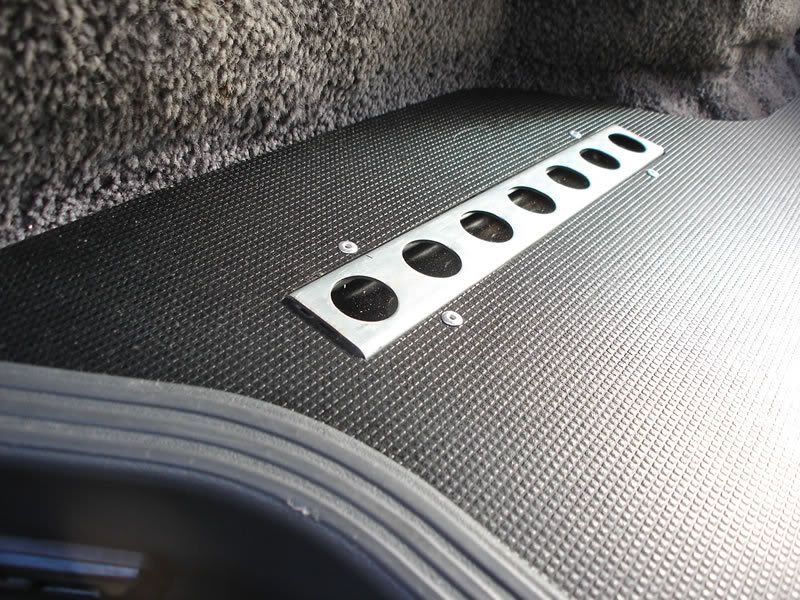
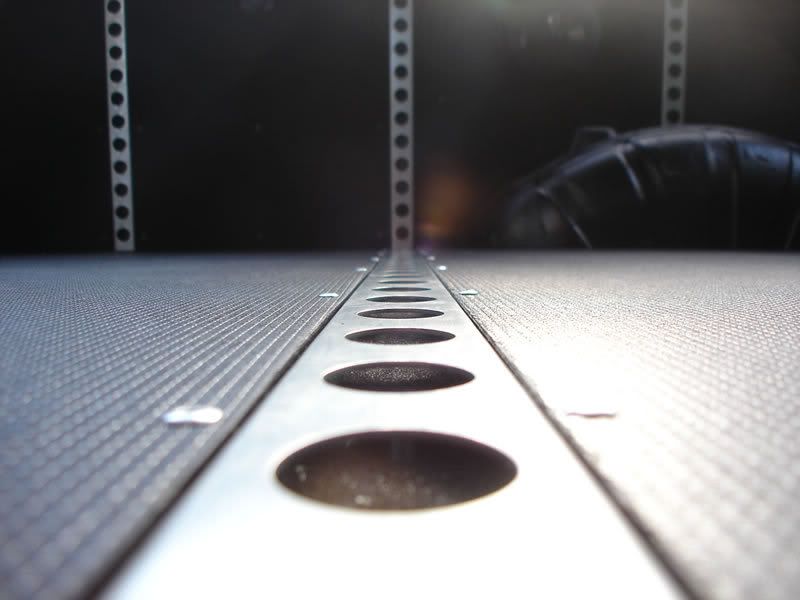
On the day I went searching high & low for tie-down points I came across this 'track' which I figured would be VERY handy for my needs. 3 x 10ft lengths later, I headed home and cut strips of thin galvanised sheet to sit behind/under the track. This would stop small objects from dropping through the track and rolling up & down the ribs in the floorpan. Things could still drop into the track - but they could go no further and I could then pick them out easily. The bottom track shows (just) the ribs in the floor through the holes. The middle track shows the galv. plate underneath and the top track shows the galv. plate coated in black vinly to make things easier to spot in the track.
Next was to start to measure, cut, trim and fit the track into the back of the motor. It took many hours of measuring to ensure that the track sat in the right places, that I could get rivets in the best (strongest) places, that the sides would line up with the floor sections and that everything was evenly spaced and 'square' to the rest of the car! Each piece of track was riveted to the body/floor and double checked that the rivets were correctly secured.
Lots of cutting/shaping was needed to get the track to fit correctly around trim and other parts of the interior like the rear seatbelts
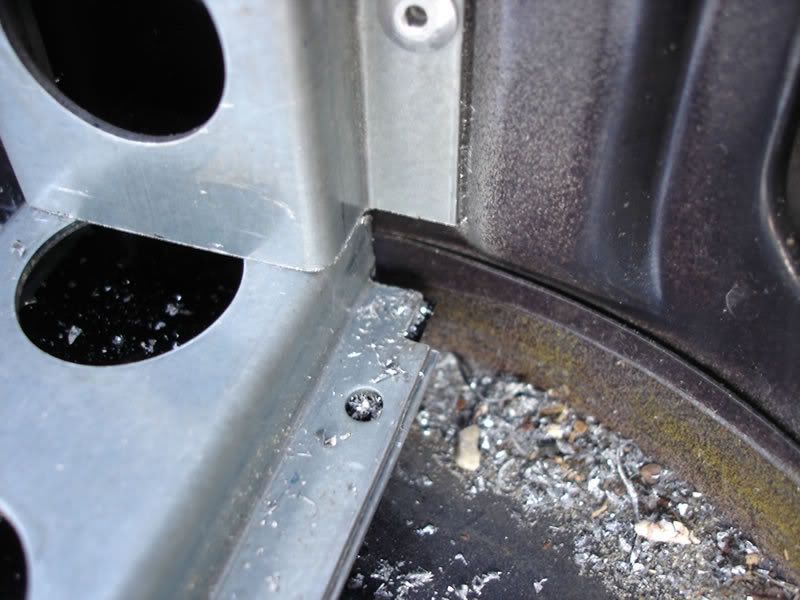

Other parts needed reinforcing to ensure that the end of the track was secured and not ‘floating’ in mid air
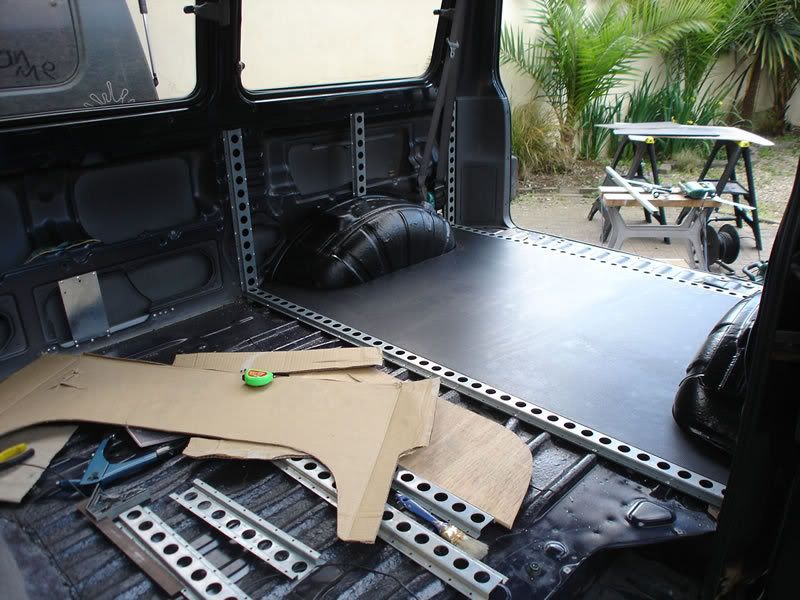
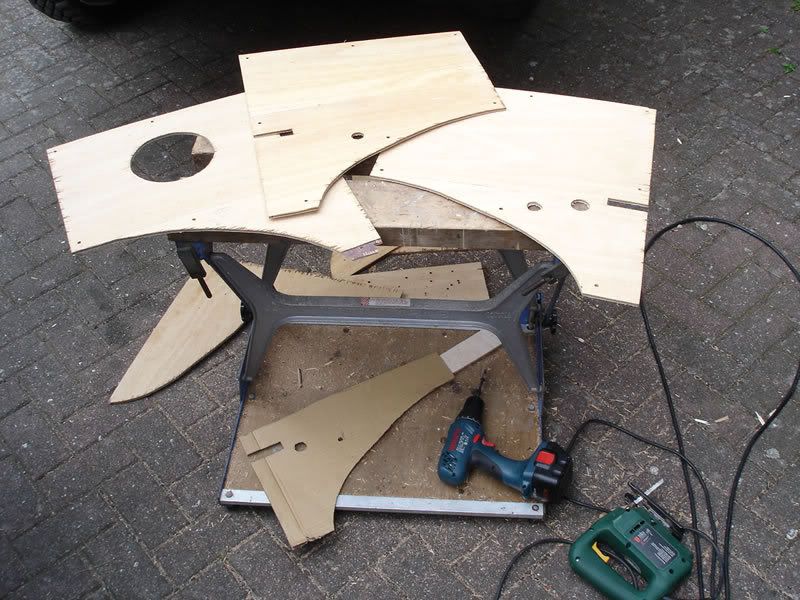
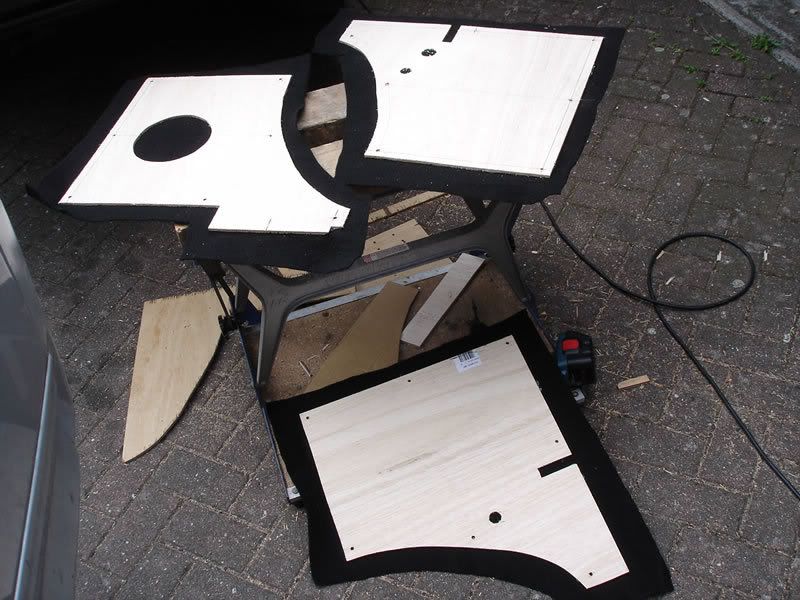
Now that some of the main elements of the track are installed I can start measuring/templating/cutting the floor panels to fit in between the tracks. I had chosen a special ‘Phenolic’ plywood with a resin coated textured surface and water resistant adhesives to bond the layers together. More tricky to cut/shape but the end result should look neat and most importantly be VERY hard wearing & durable!
My aim was to get the panels to fit as neatly as possible (+/-0.5mm tolerance ideally) and decided to try and achieve this with just a jigsaw rather than using a circular saw!! I won’t explain my reasons here, but suffice to say that after a LOT of careful measuring (measure 10 times, cut once) I managed to achieve an almost perfect fit (within my tolerance) and no chips in the phenolic surface. One VERY pleased person was the result! You can see my templates in the foreground and my amazing al fresco workshop in the background! Who needs fancy machinery??
Once all the floor panels were test fitted and just how I wanted them, I finished fitting the rest of the side tracks while the ‘raw’ cut edges of the ply were painted black to make them look neater (purely for aesthetics seeing as this ply is waterproof anyway! Maybe I was being a little pedantic about the finish!!! Lol)
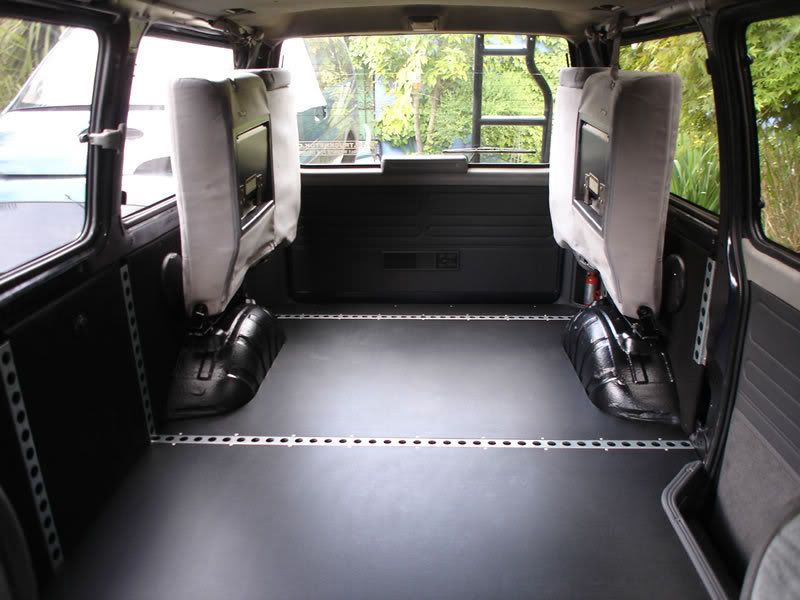
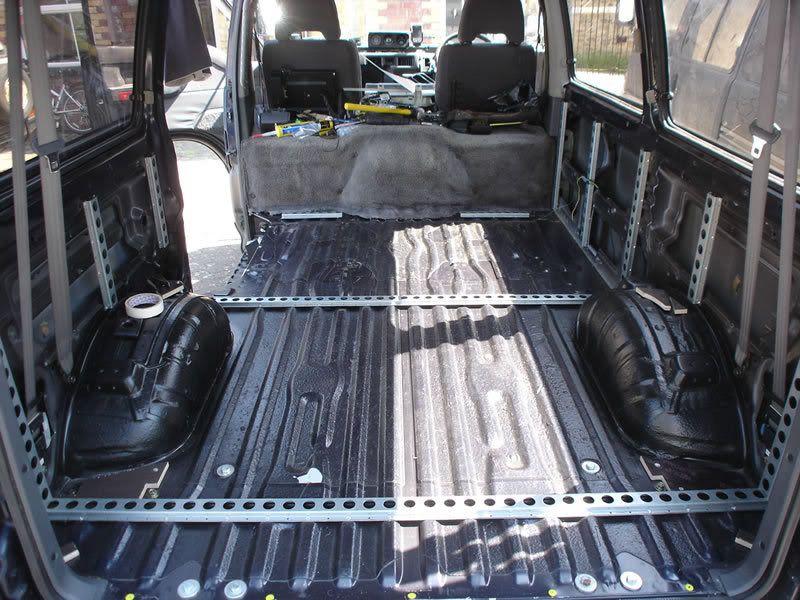
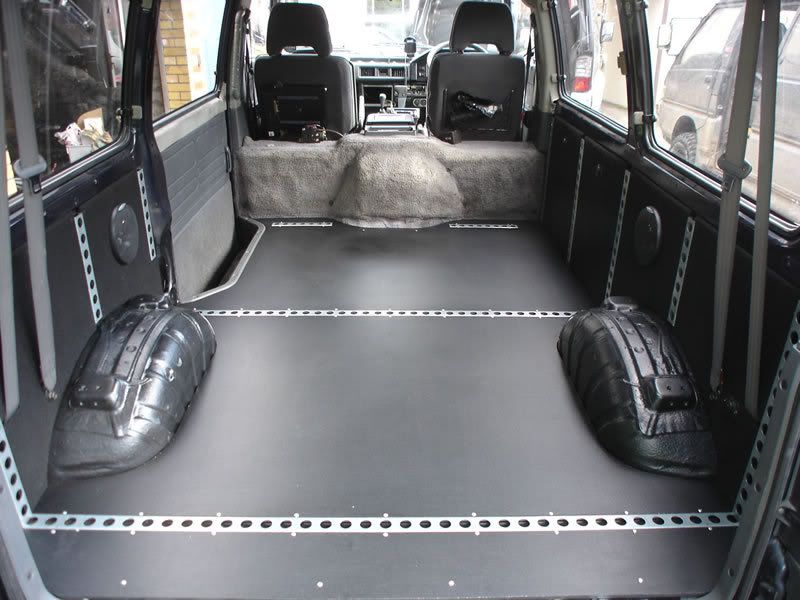
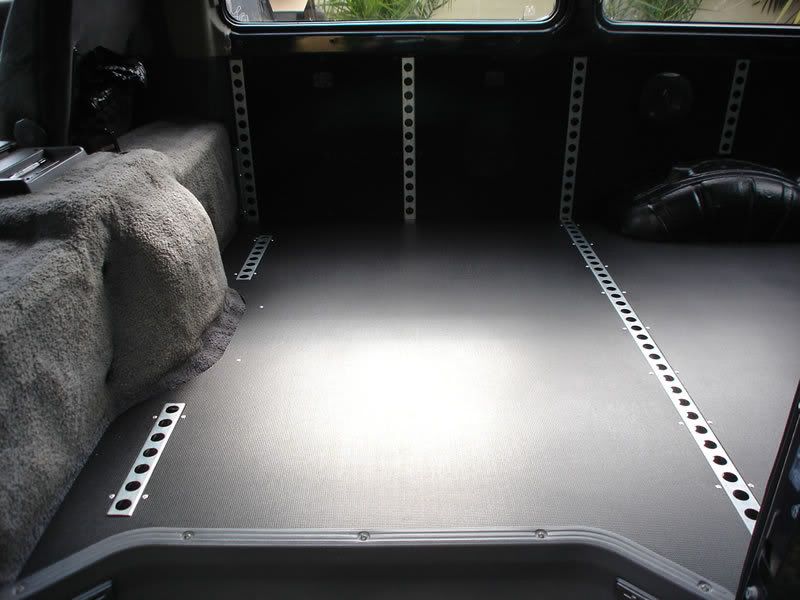
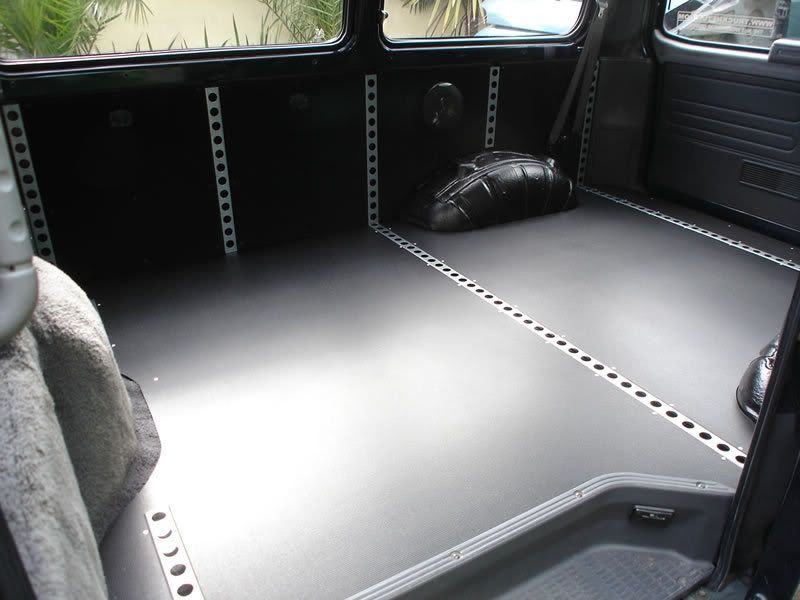
Here is the motor with all the track fitted ready for the floor to go in:
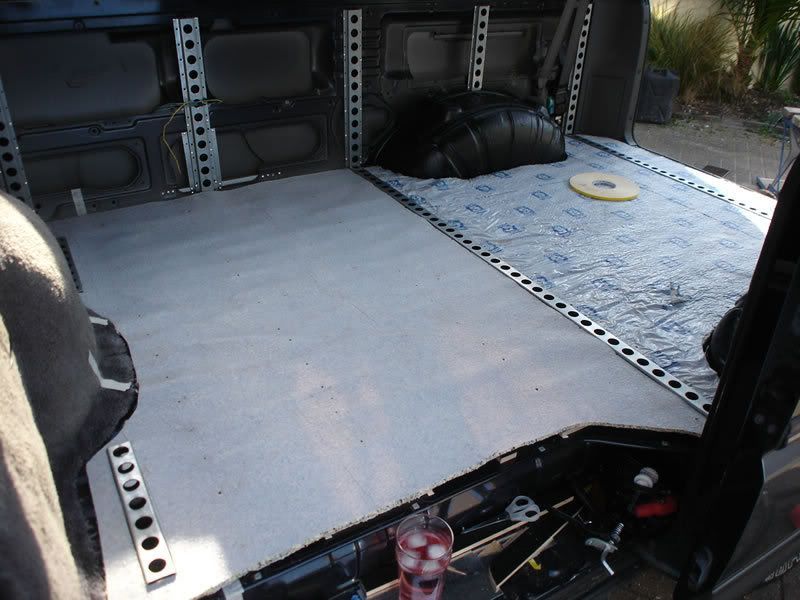
Next up was a layer of foam insulating material to act as a sound deadener and also to make the rear a little warmer when camping in the back.
At this point I then spent a whole day bonding (re-bonding) the inner and outer panel skins together on the sides of the bodywork to stop them drumming/vibrating and making a horrible noise. I also made sure that the floor was fully sealed and any small holes filled with silicone so that once the floor was riveted down, there would be no need to pull it back up again.
The floor was then fitted and fixed into place. No photos because I forgot to charge my camera batteries!
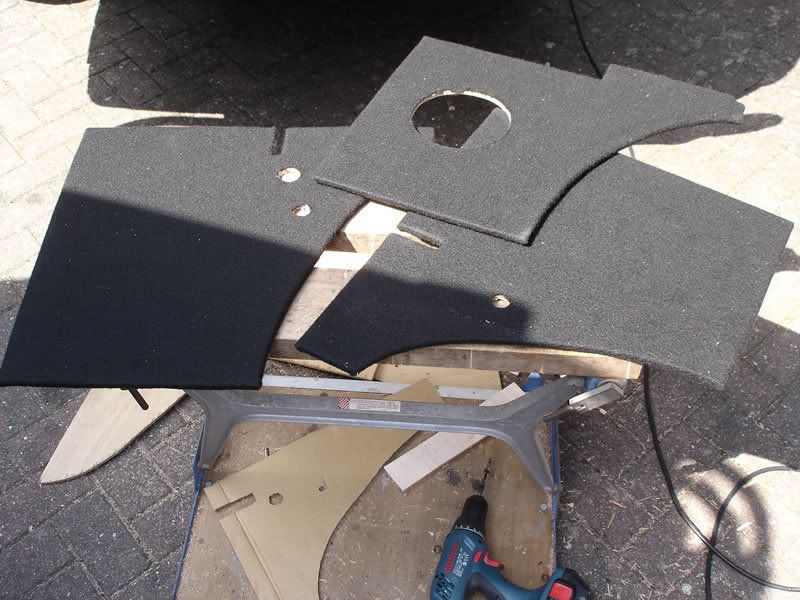
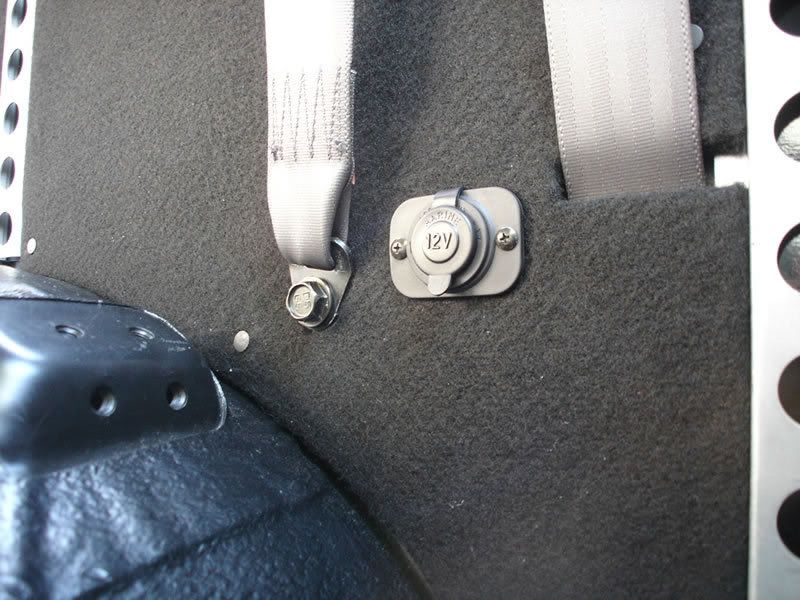
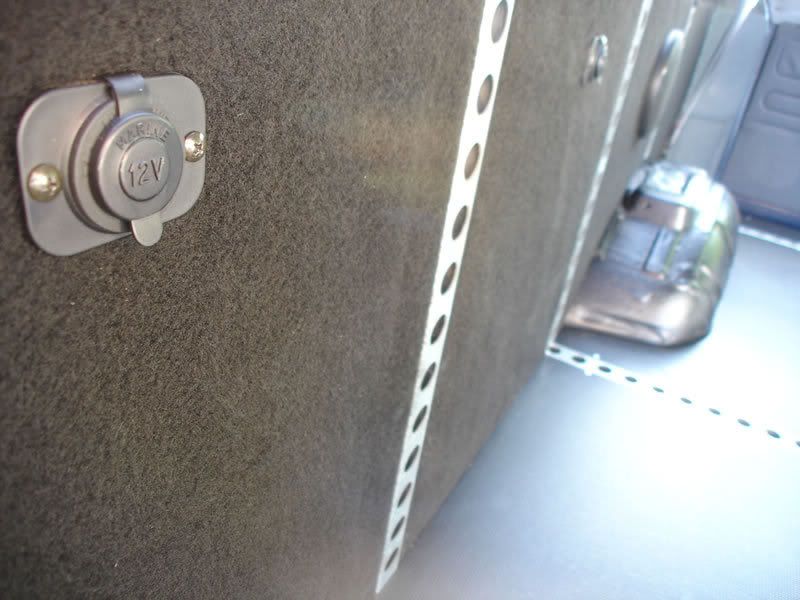
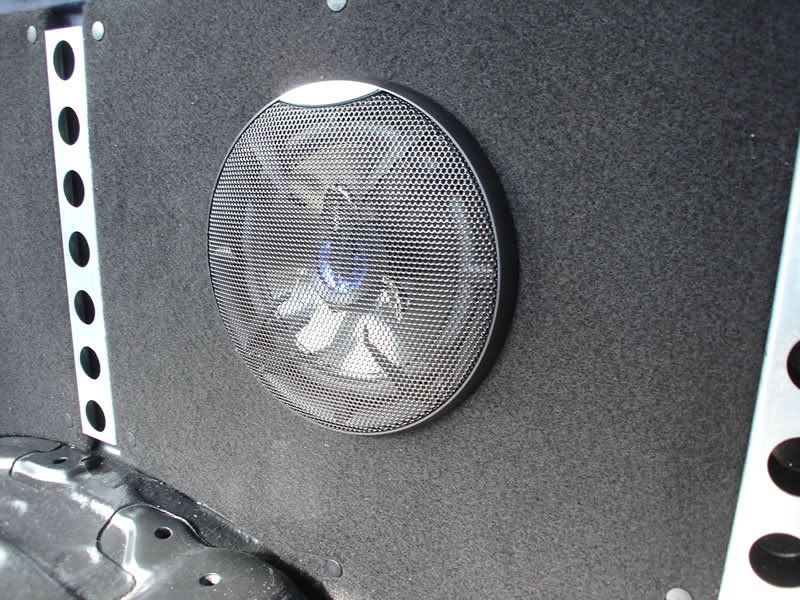
Next step was to make all the side panels to fit in between all the vertical tracks. These where carefully measured and cut in 6mm ply with all the correct holes for seatbelt mounts, accessory sockets, speakers etc…cut into them before being fitted.
Then I glued/bonded black carpet over the face of each panel (six in total, three shown) and trimmed with a border of a few inches
I then cut/stretched and glued the border onto the back face of the panels. This made a neat job of the edges but also meant that the panels wouldn’t vibrate against the bodywork because the fabric would sit against the bodywork, not the wood.
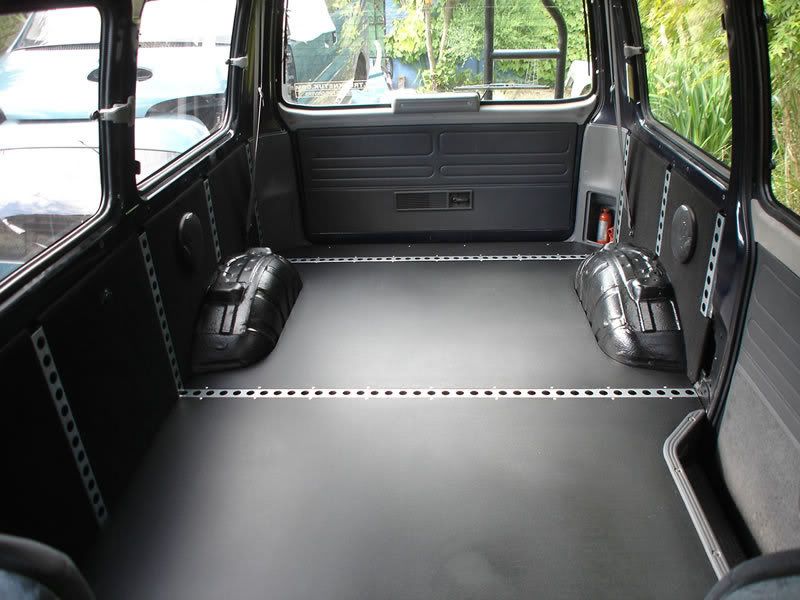
So there you go – a lot of work just to panel the back of the van out…..and I’ll upload some pics of the finished interior in a little bit…….let’s just say that I am VERY pleased with the results!!


 Call me BCDelica-less