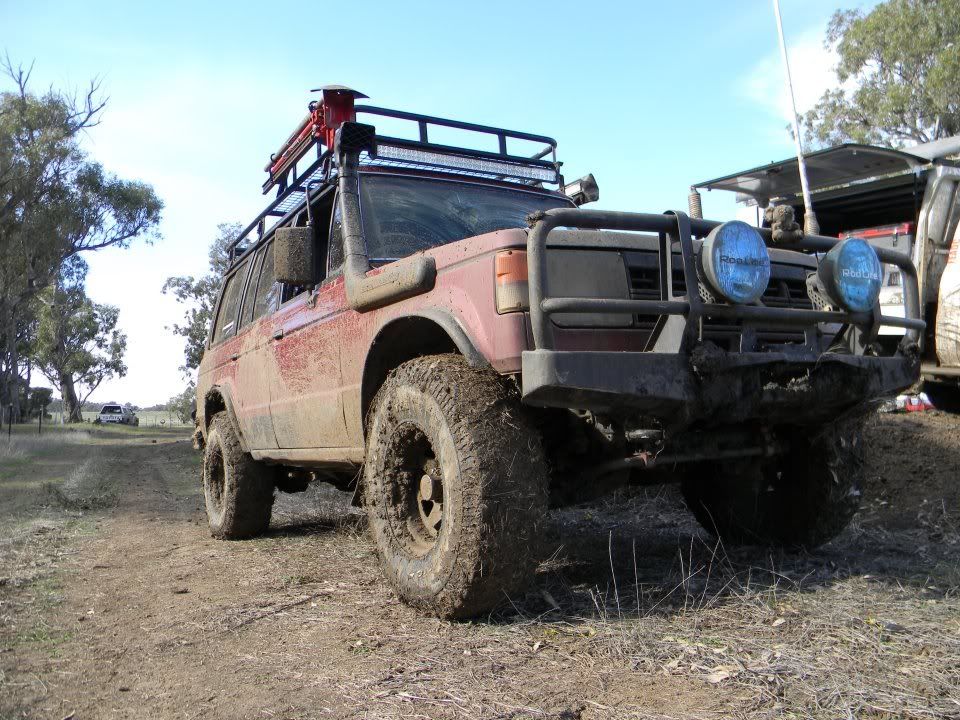
LeeHammy wrote:What size tires are those BF TA/KO's? 285/75/R16?
33x10.5r15
Well... I guess its time for a big update since I have been off the radar for 2 weeks haha.
In list form:
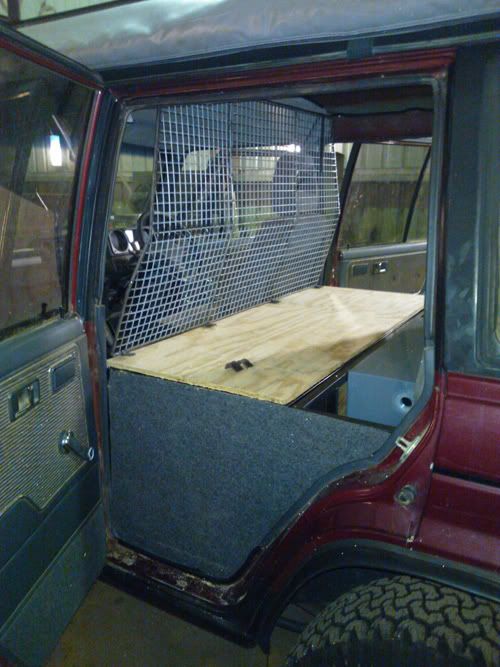
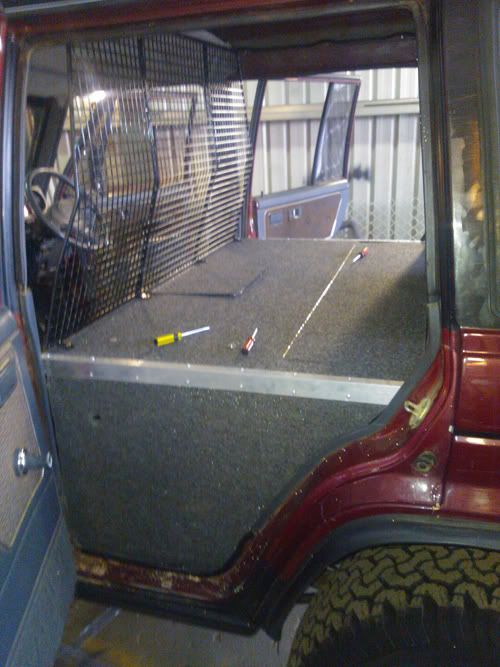
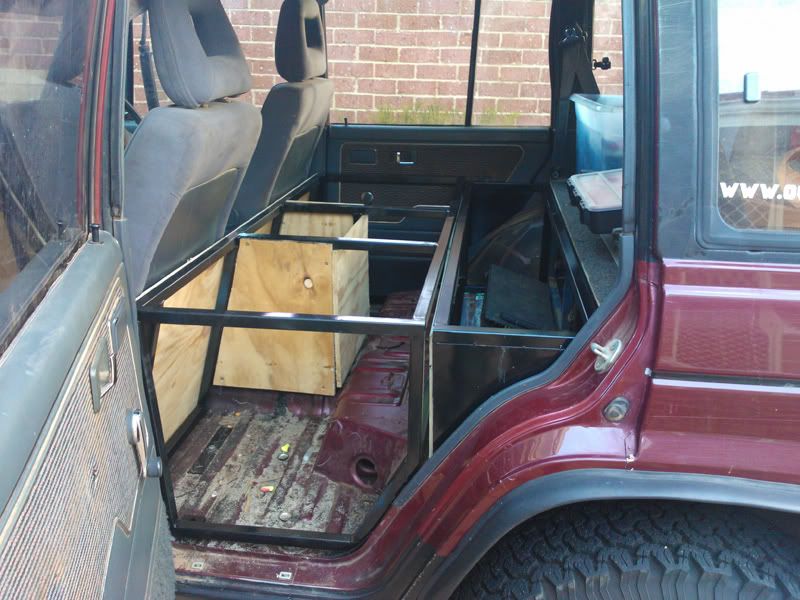
finished rear of wagon floor idea
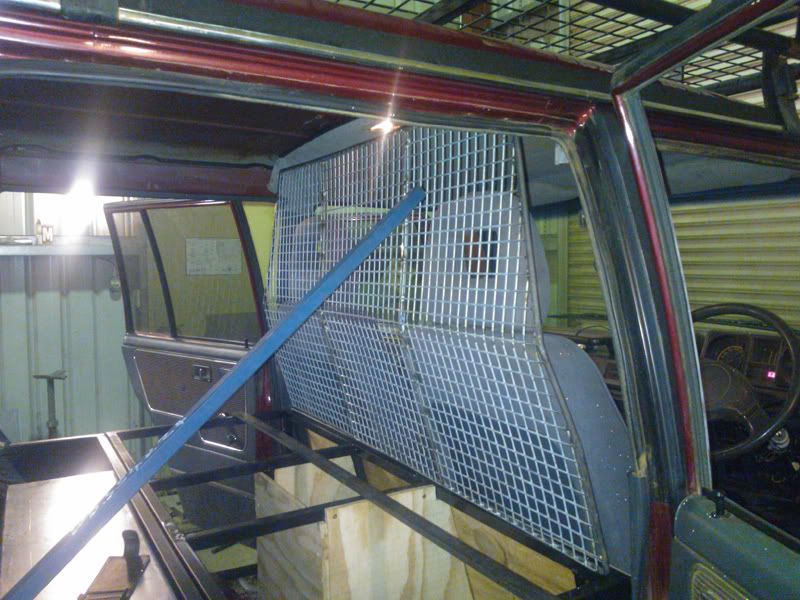
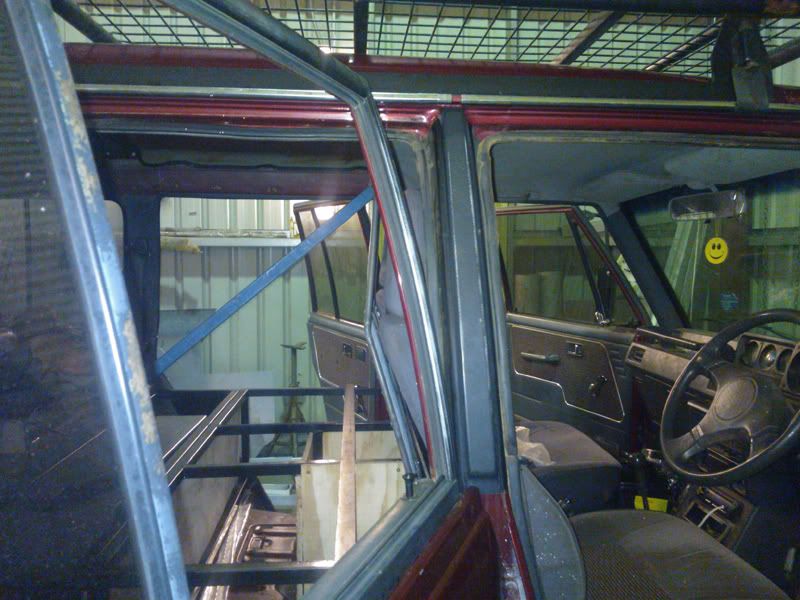
rear barrier installed
extra led lighting added
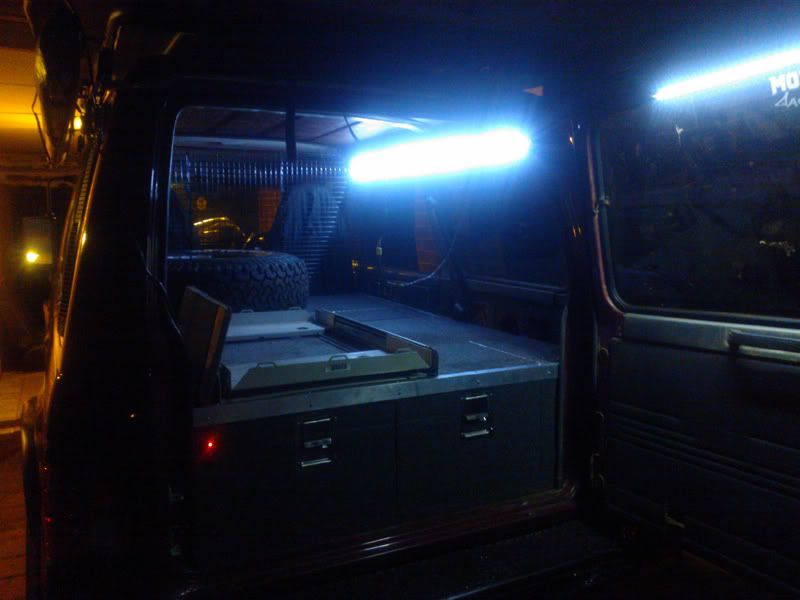
40" led light bar added
arb seat covers
water tank set in place
wiring almost sorted
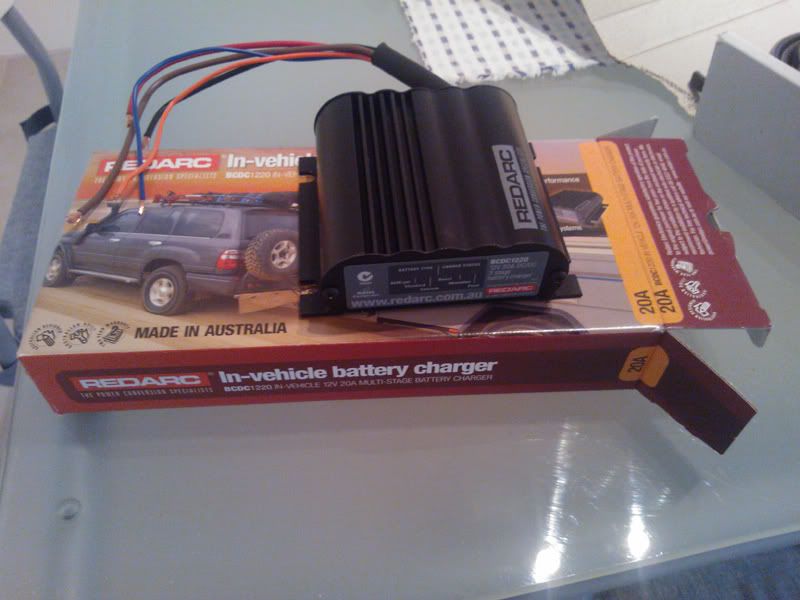
red arc 1220 installed
immobilizer installed
can now start off key - no switch required
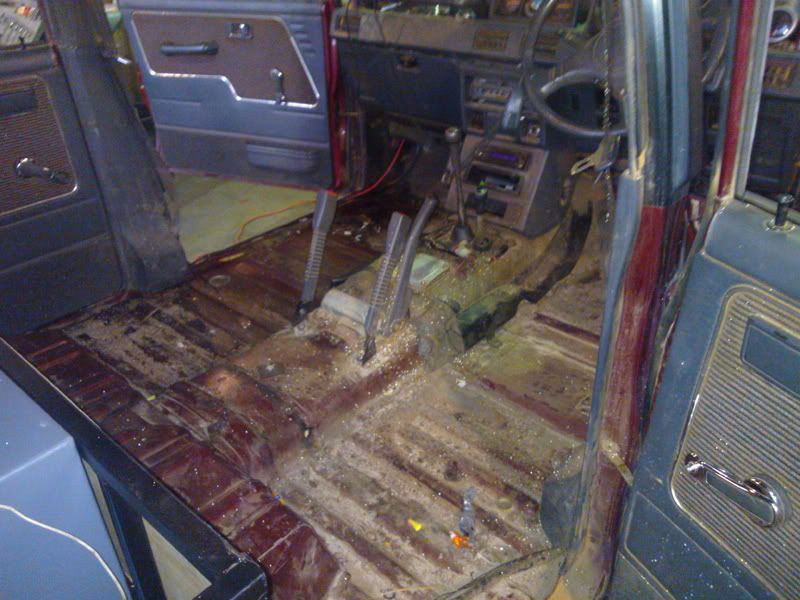
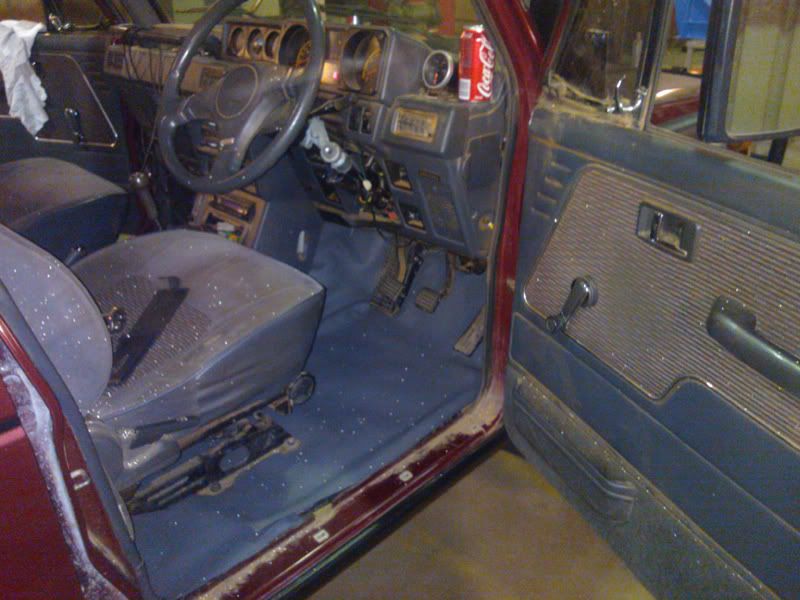
new viynl floor installed
recovery point on rear added
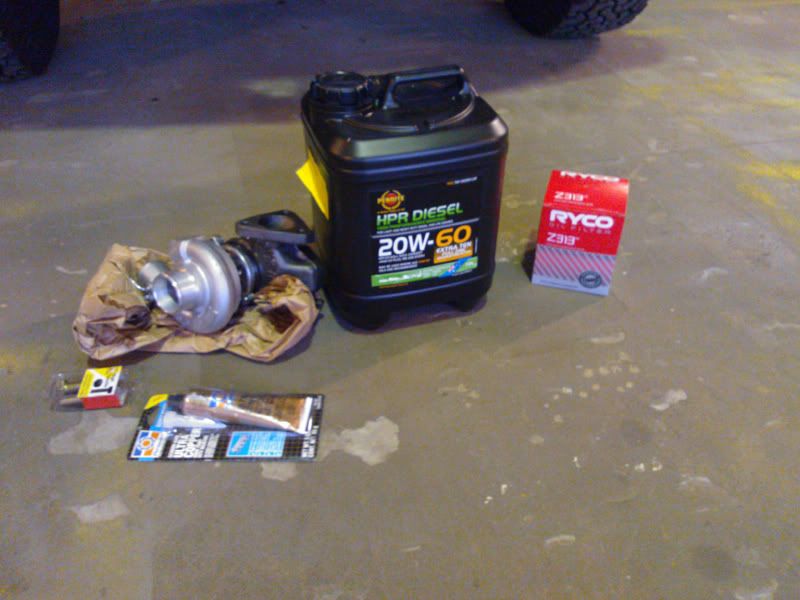
turbo installed
For starts, I got a new turbo installed, overall it works great. a lot more power and actually gets decent fuel economy again:
This is tough to sort out. so let smove onto led lighting
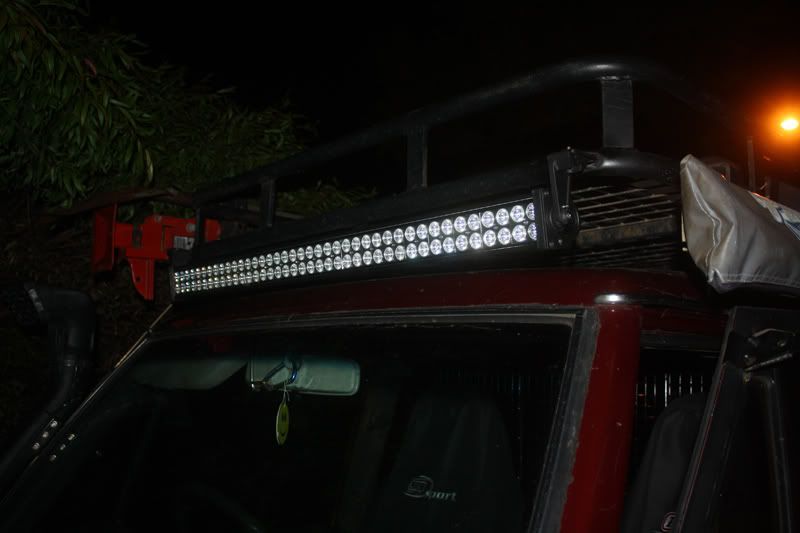
OUtside:
Installed a new 40" led light bar, test shots to follow.
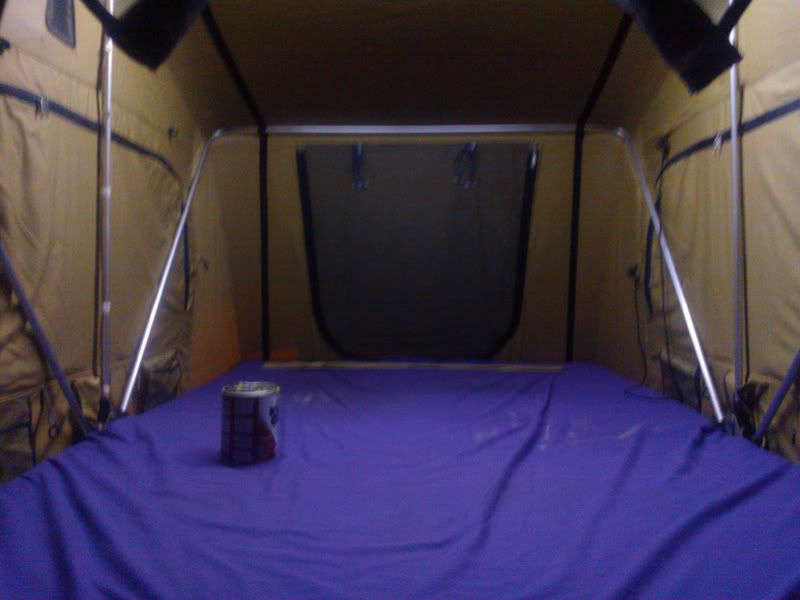
Inside:
new leds inside my RTT. great lighting, even has a switch. haha
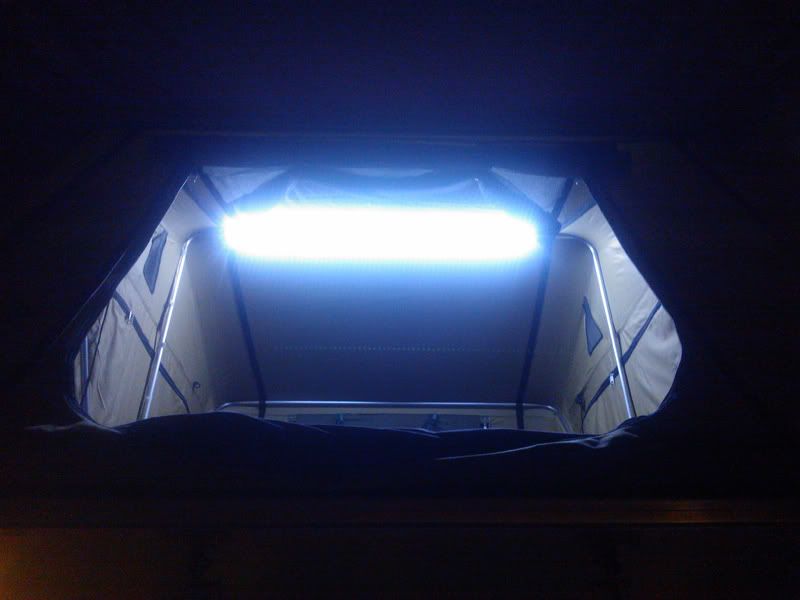
no flash:
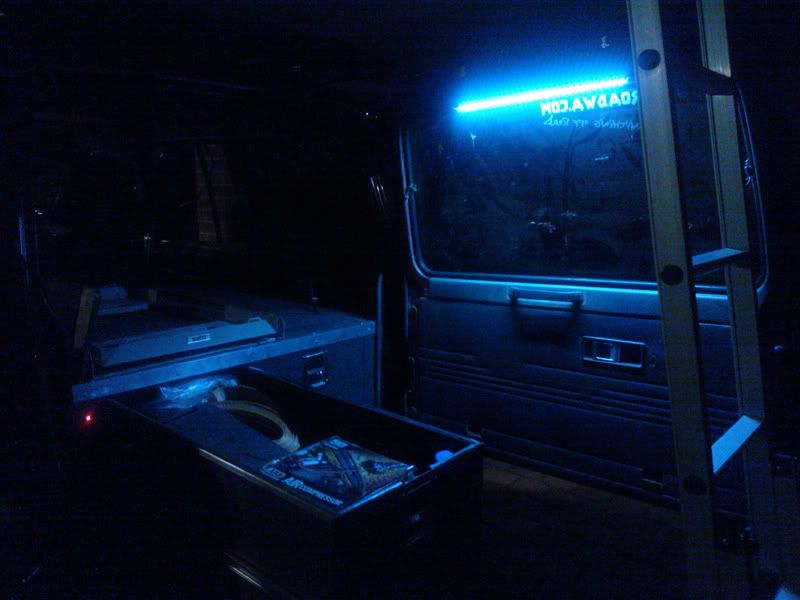
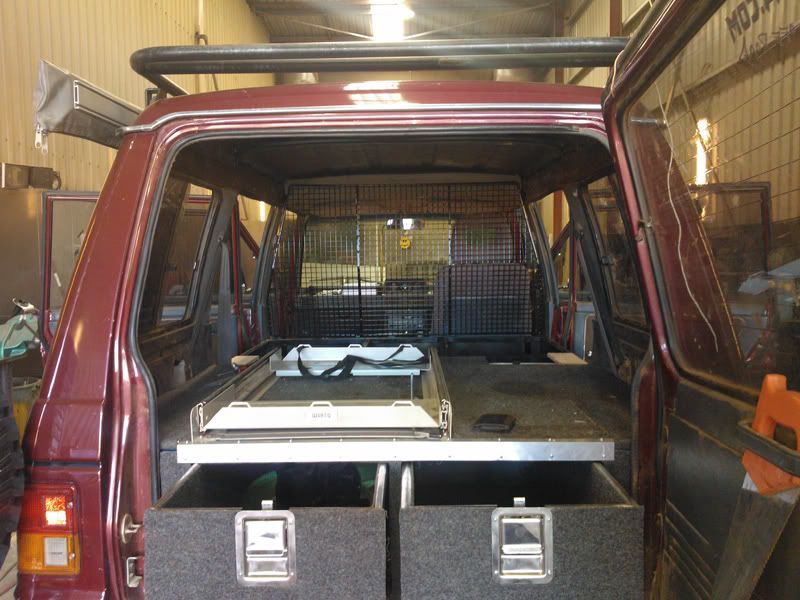
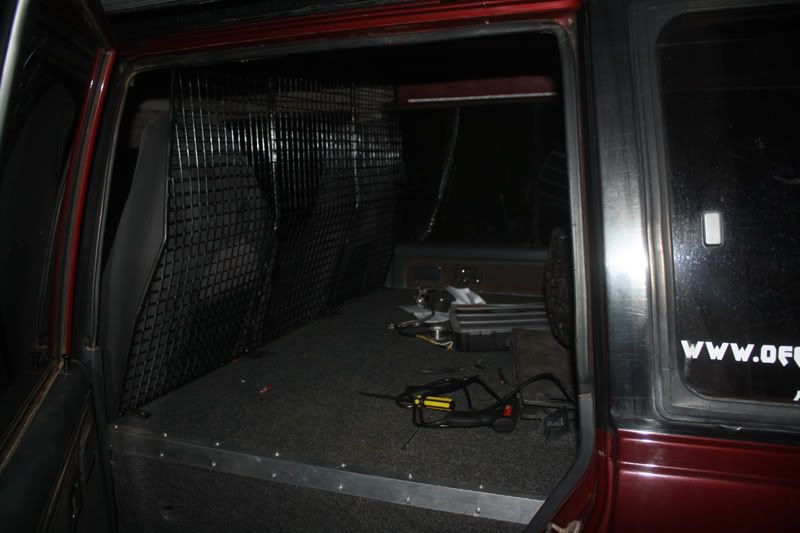
Rear of wagon:
Just rear door light:
extras:
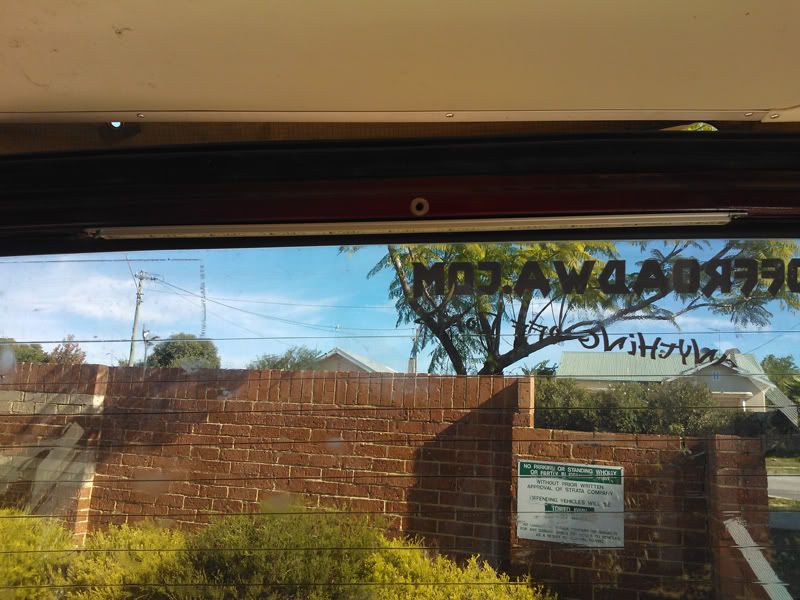
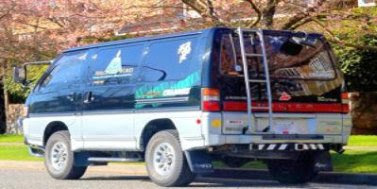
A little more outside work, finally finished gettig the badges removed...
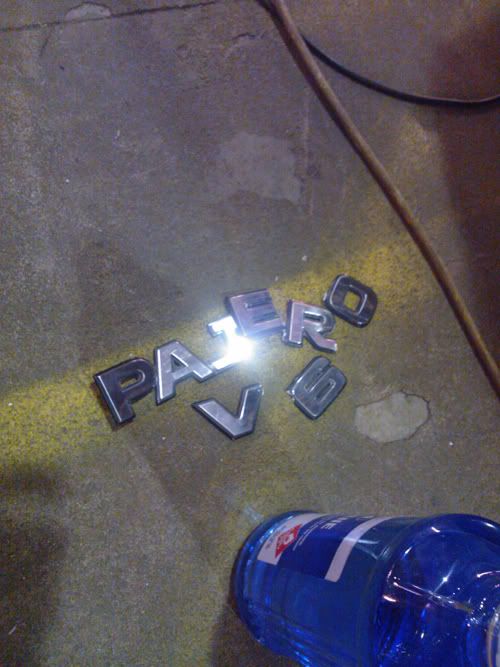
and a clean side to follow:
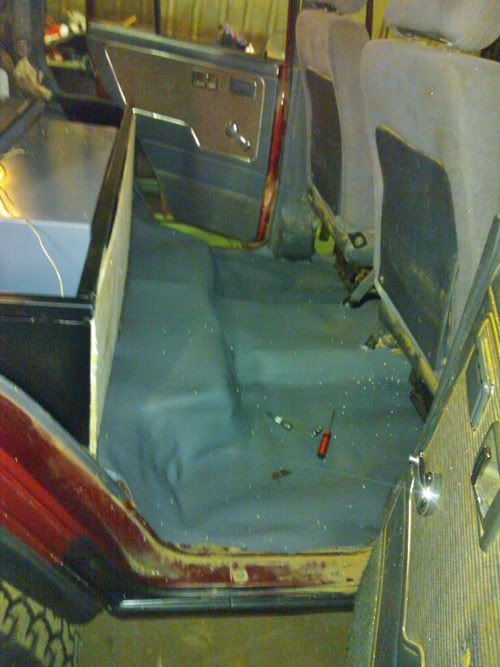
Finially got a new floor in. tough install. hard work but worth it.
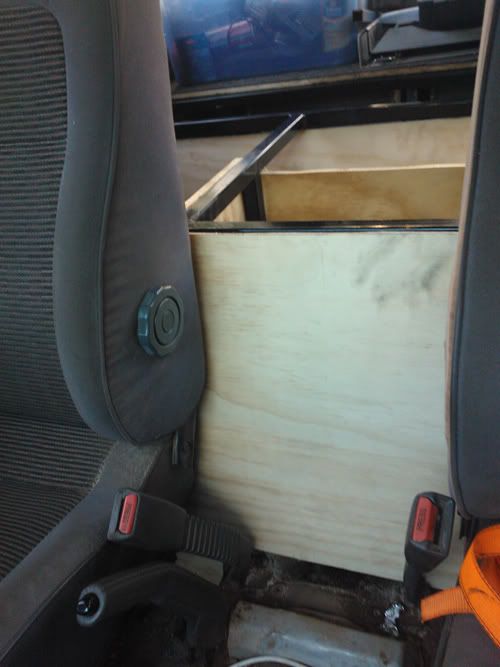
Moving onto the storage unit now... this took a while to build but houses all my electrical keeping them off the floor, up high and away from under the dash.
keeping most of the factory wiring untouched.
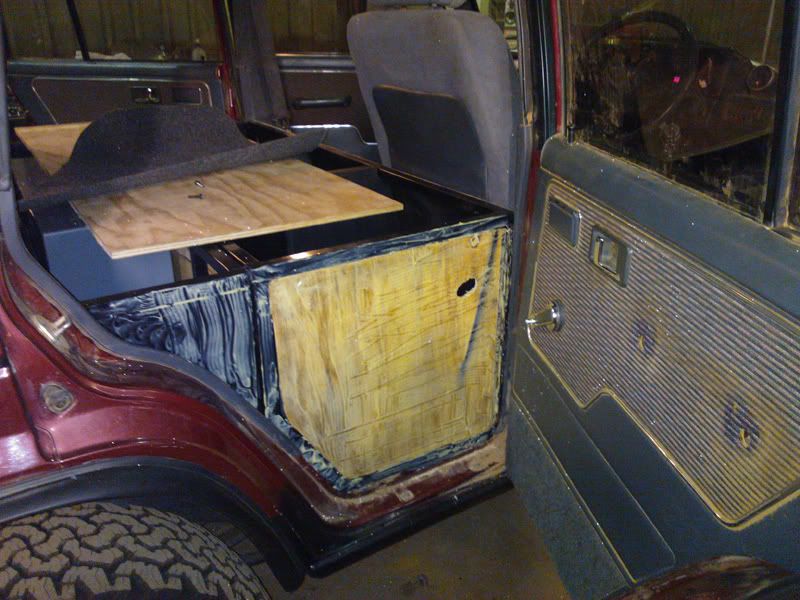
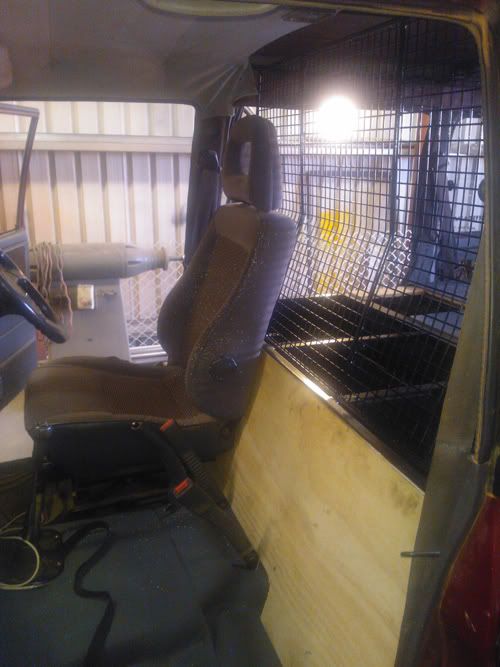
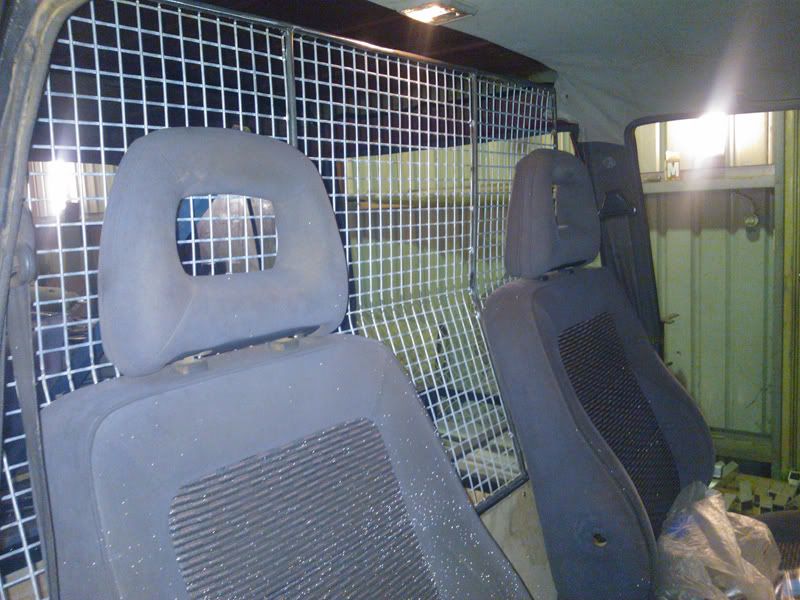
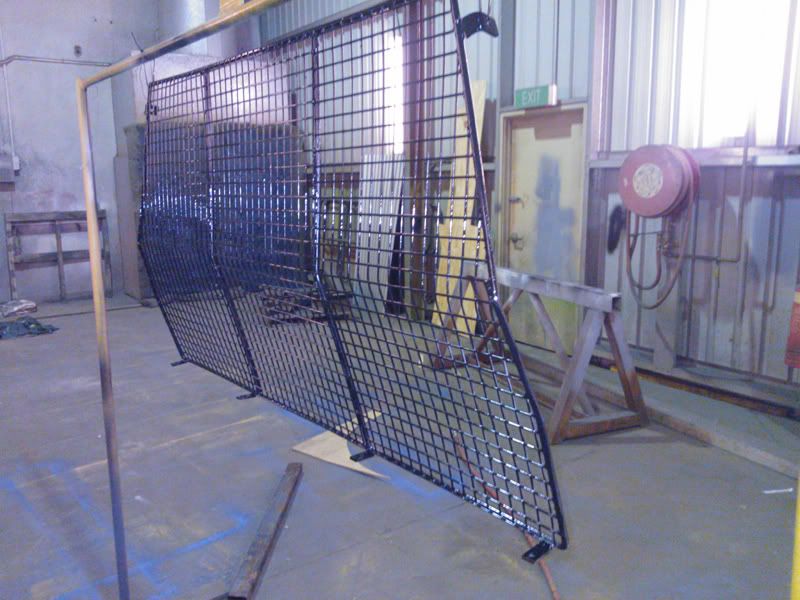
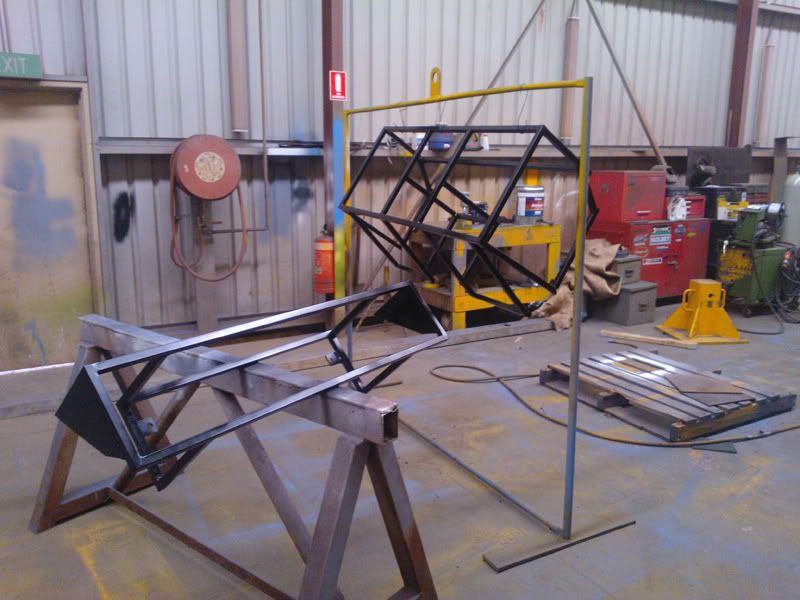
Along the way I had to fabricate a rear barrier for safety reasons:
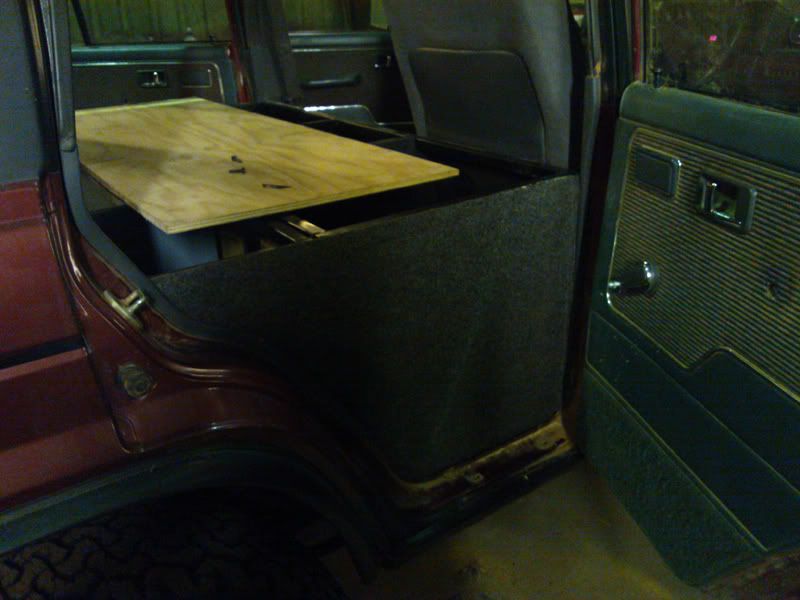
Some carpet added:
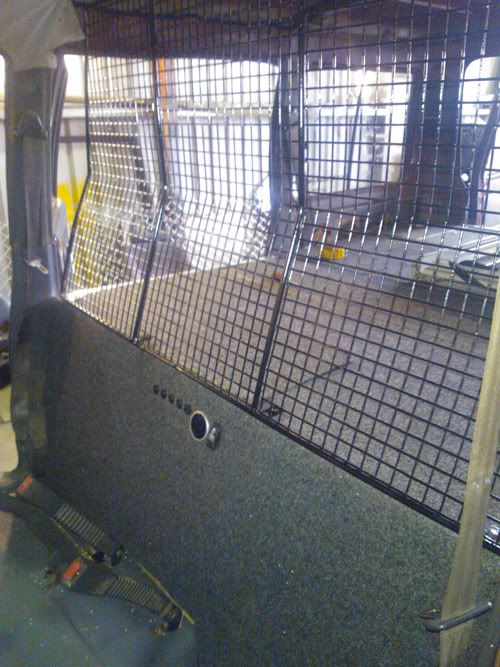
Shot from the back:
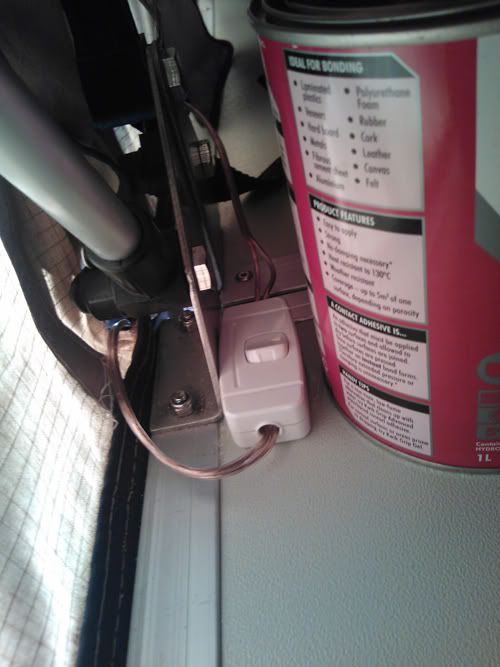
Water pump installed:
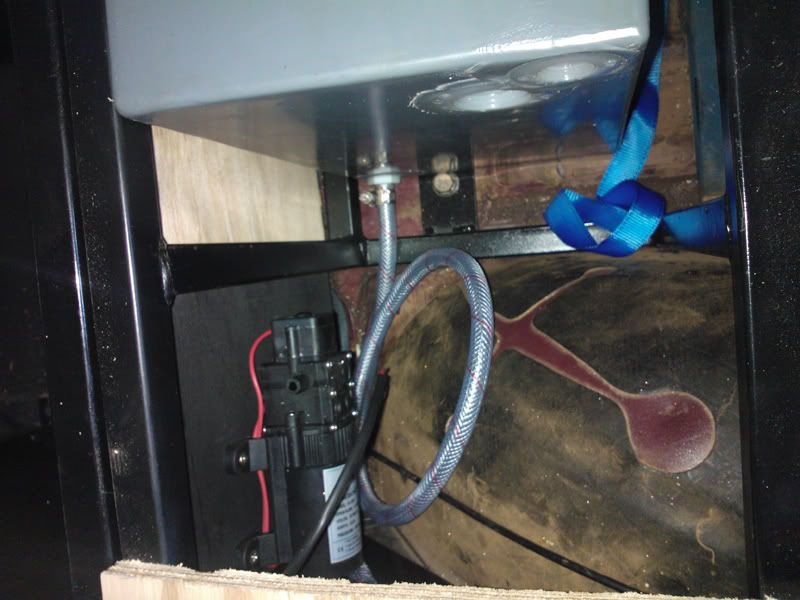
Air pump on the other side of the water tank:

Almost there... I figure jsut wiring is left now:
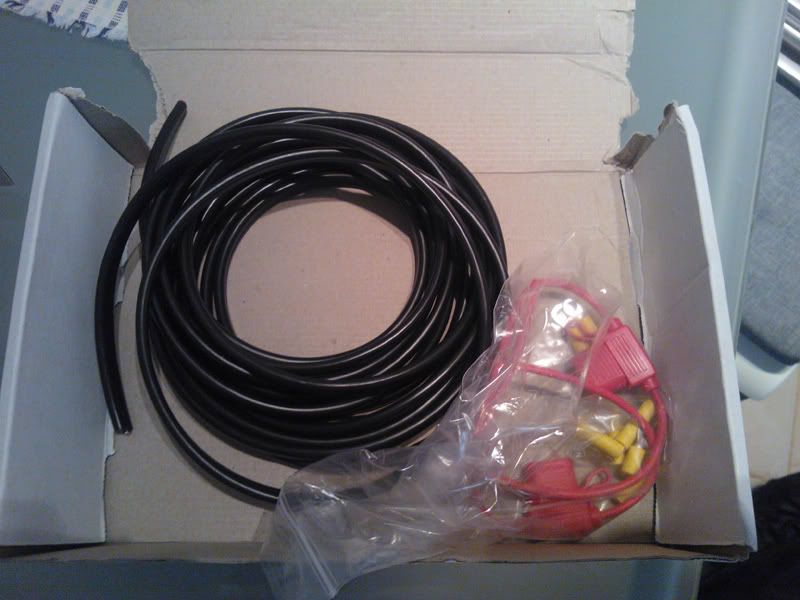
I have set everything into a simple box.
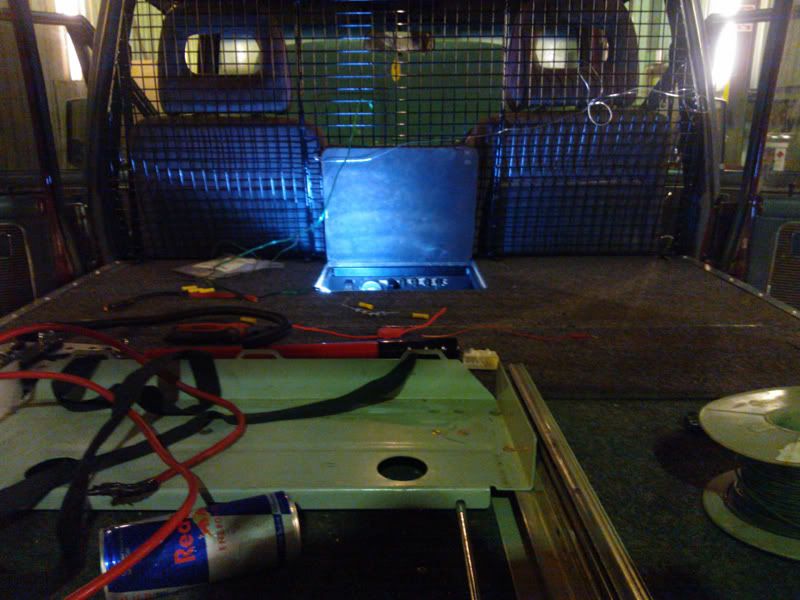
A bit of a mess right now. but once the wires are bundled it will look great,
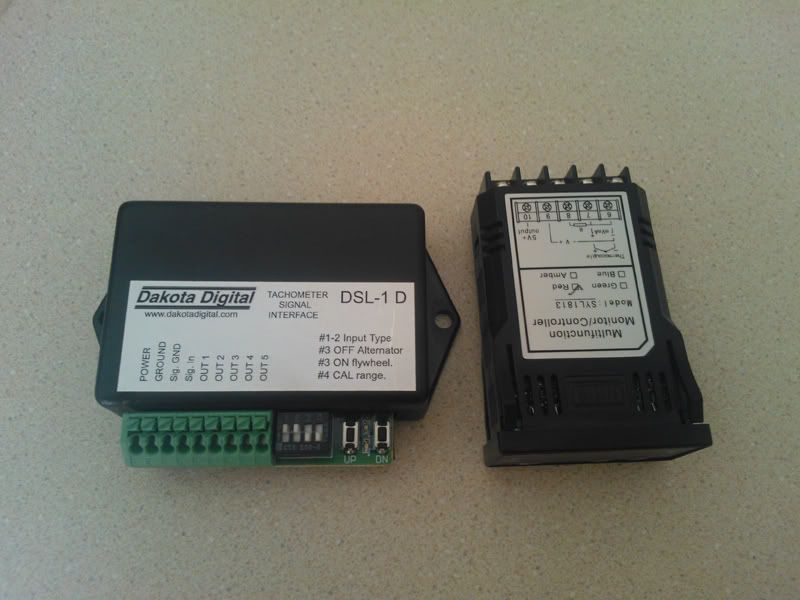
contains:
fuse black
redarc 1220
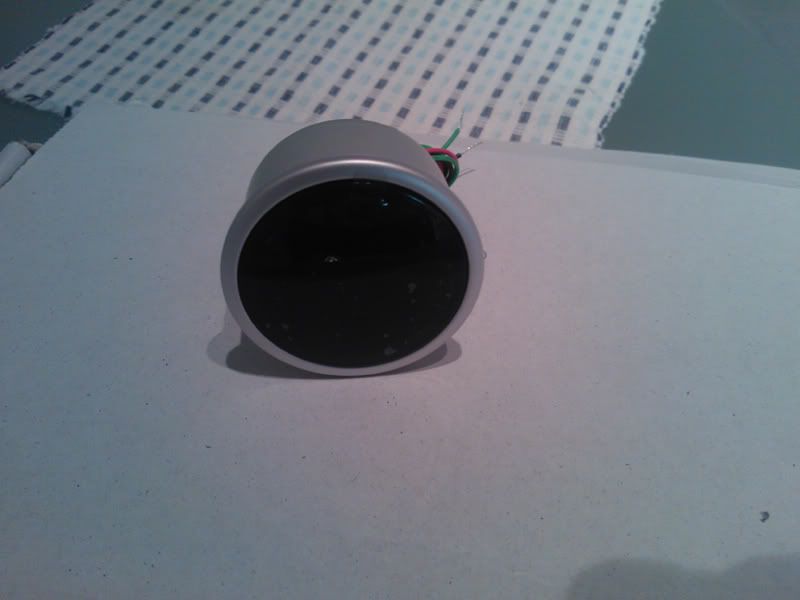
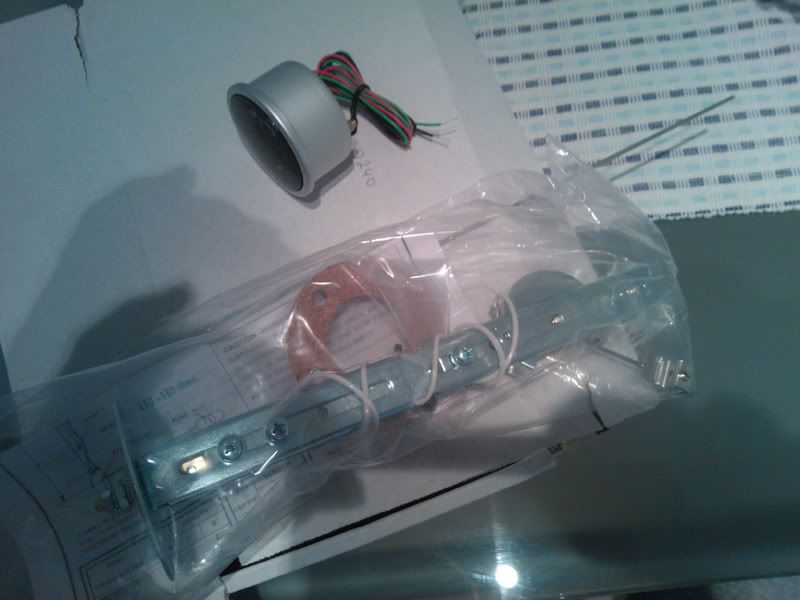
dakota digital tach box
immobilizer

dakota digital tach box on left, egt on right
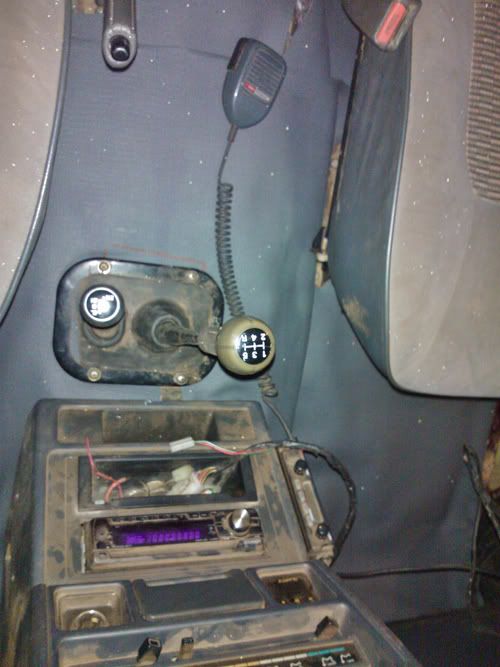
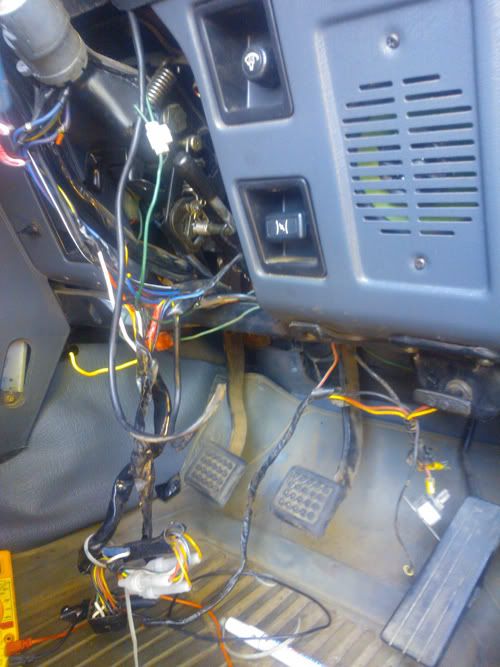
under dash before:
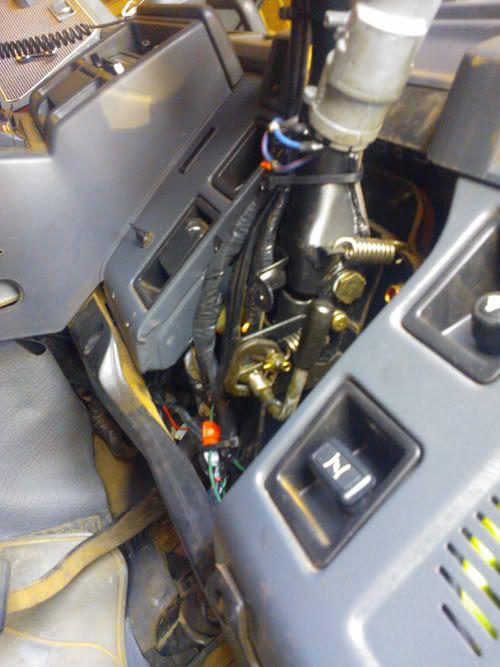
after:
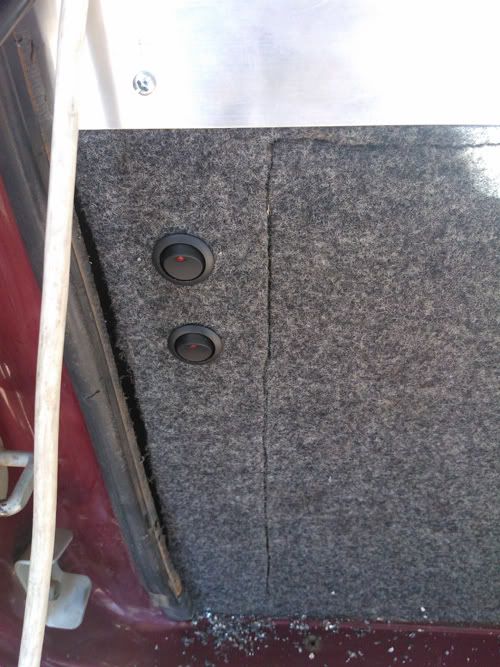
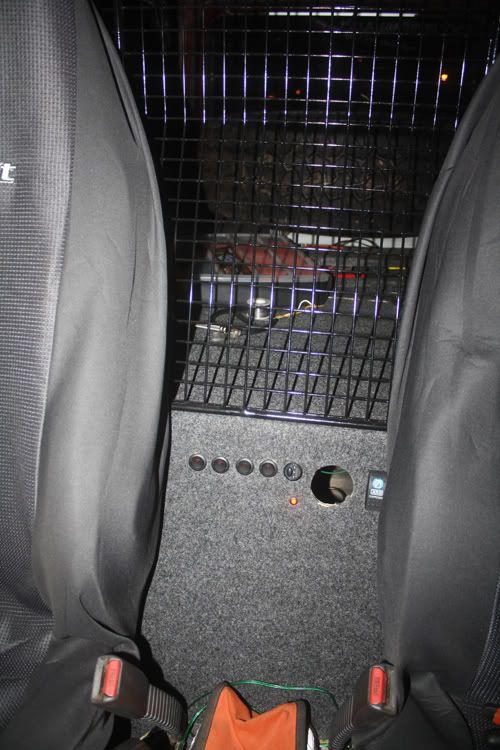
switch combo:
contains 4 switches, fuel transfer pump, gauge for main tank, arb compressor switch
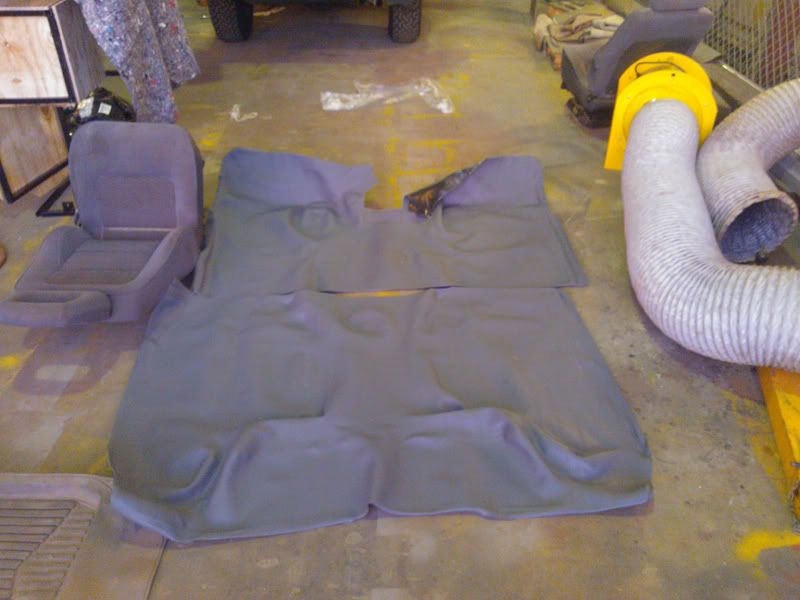
seat covers:
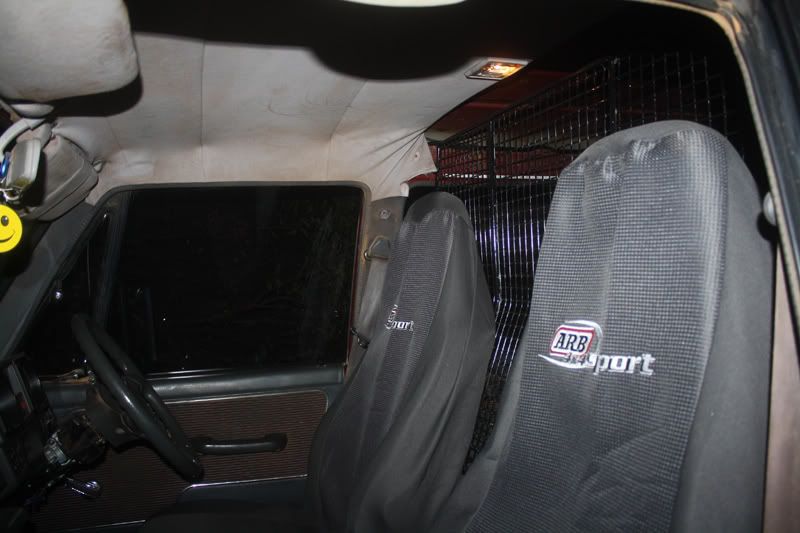
finished shot:
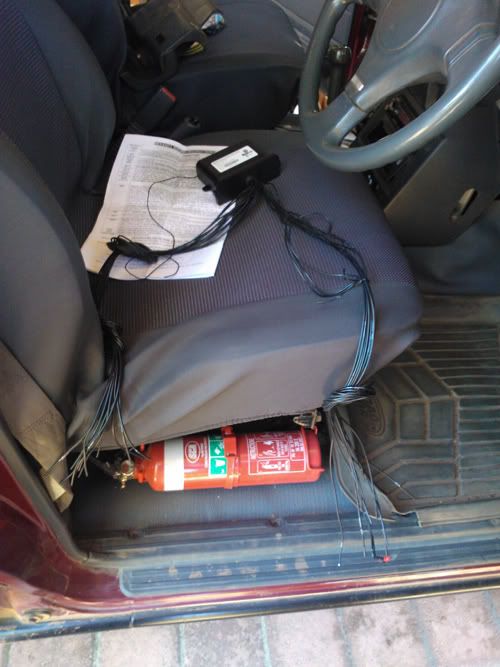
A little safety added:
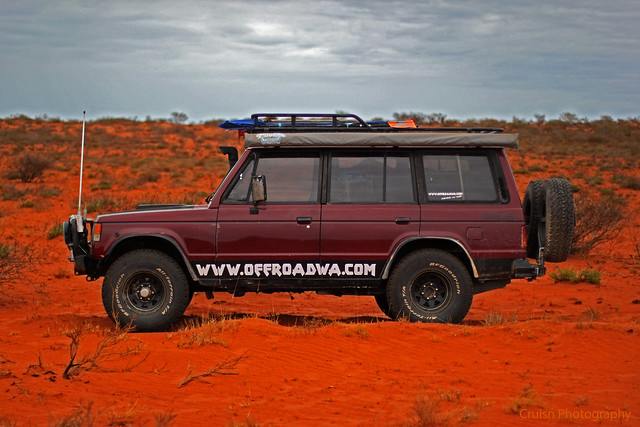
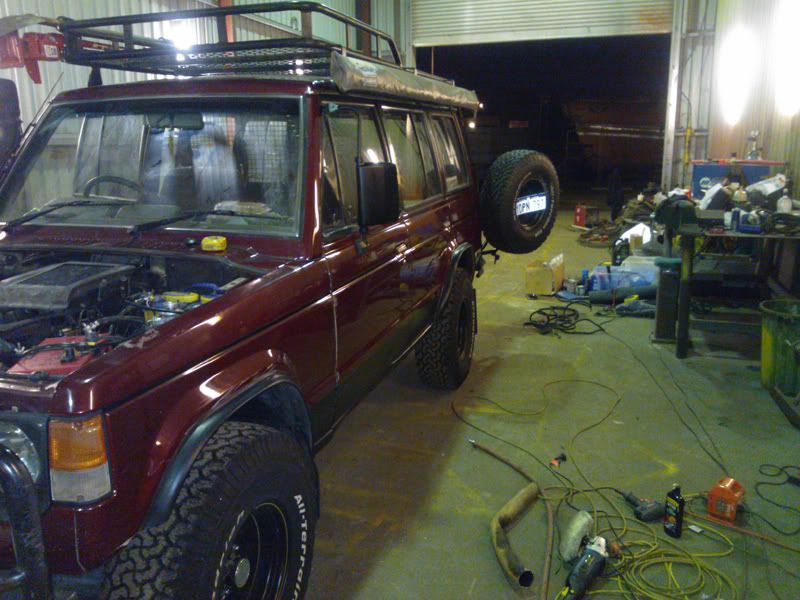
A shot of her all cleaned up for the photo shoot with 4wd action.
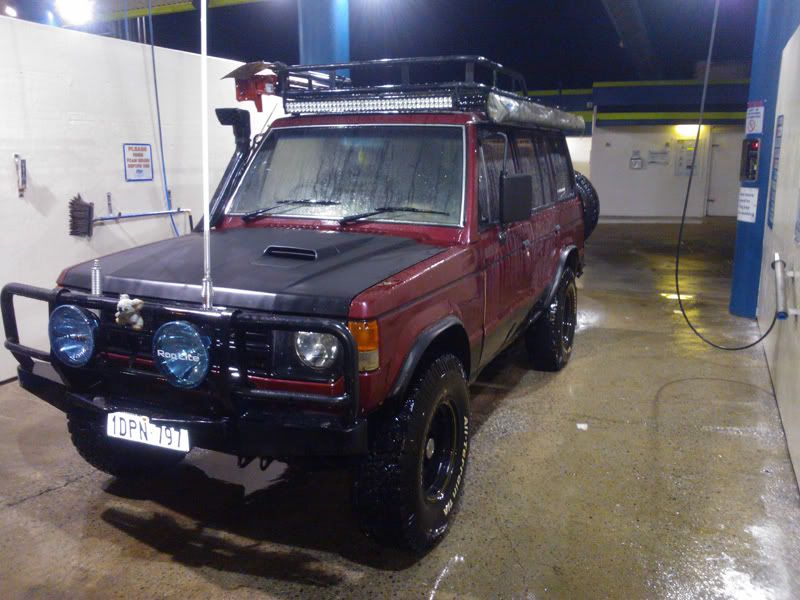
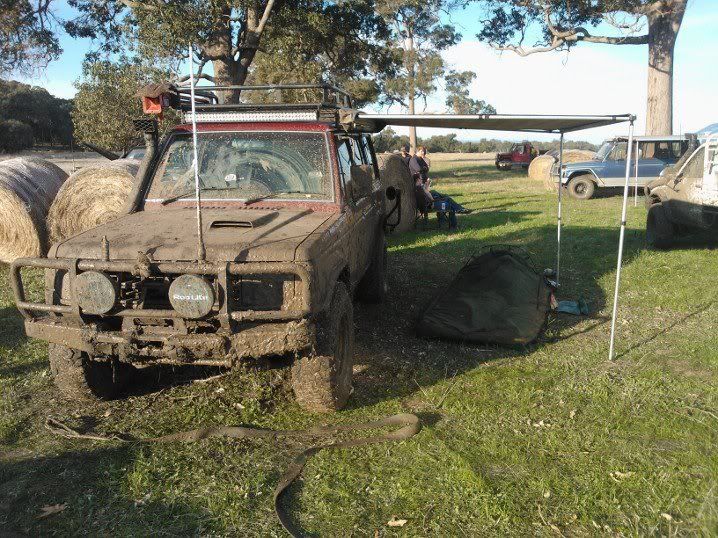


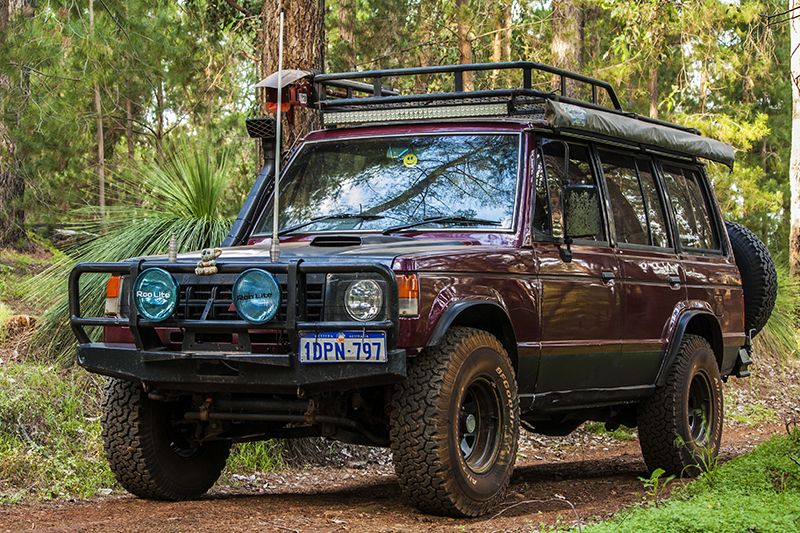
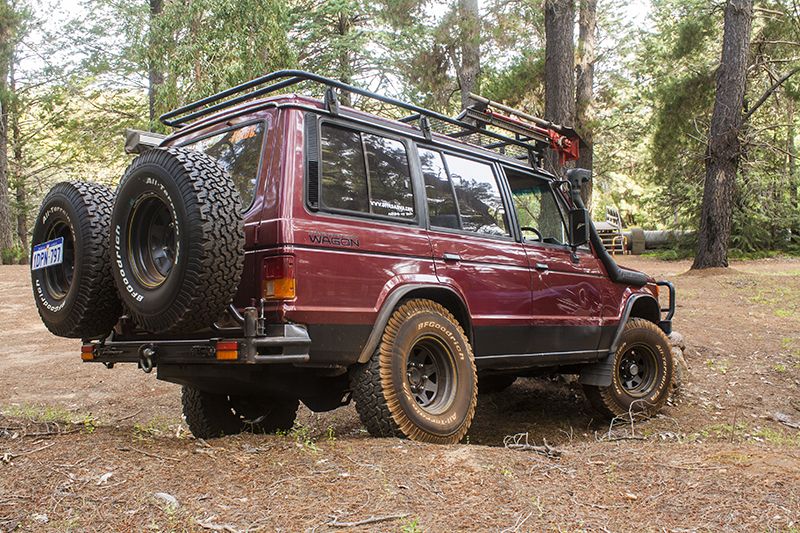
 Good Ship Miss Lil' Bitchi