Page 2 of 4
Re: nvanadm's Derelictica
Posted: Fri Apr 27, 2012 7:37 pm
by nvanadm
jfarsang wrote:nice round up. The wooden handles look familiar

I didn't know you used those same handles. I may have to rename the title of my build to give you some credit too
Re: nvanadm's Derelictica
Posted: Fri Apr 27, 2012 7:48 pm
by nvanadm
Spontaneous photo shoot. Craig had two Pajero's there (one V6 gas and one 2.8 diesel). A fellow delica.ca member (Jonathan) dropped by for some service.
It's not too often you see this many white JDM's in the same area in Ontario...so of course we had to take some pictures.
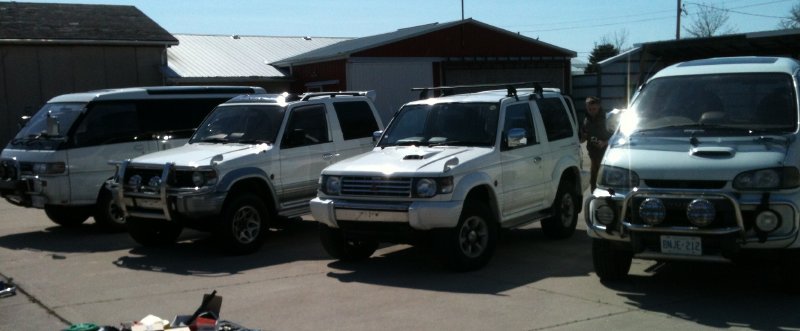
- whiteys1.jpg (47.91 KiB) Viewed 13243 times
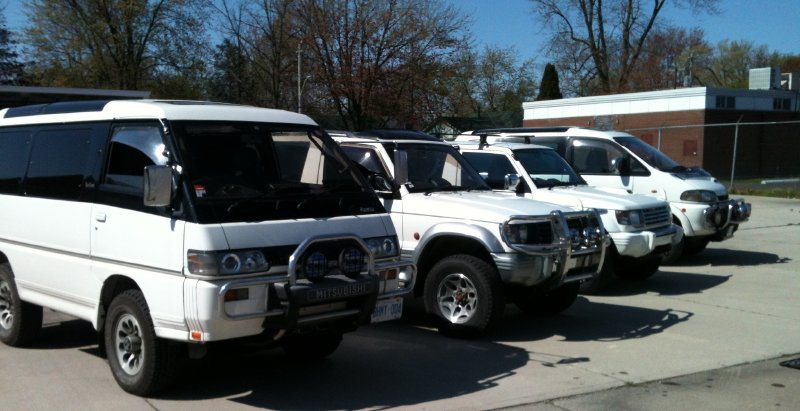
- whiteys2.jpg (71.71 KiB) Viewed 13243 times
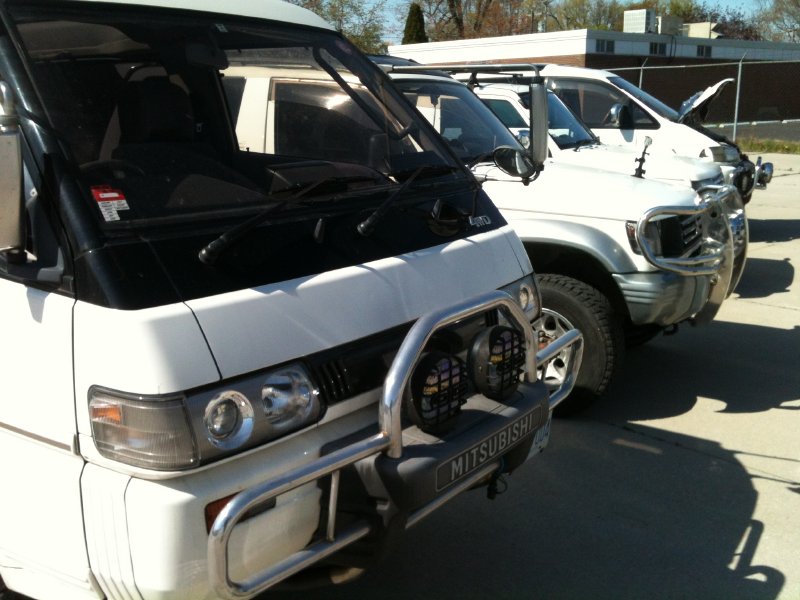
- whiteys3.jpg (85.18 KiB) Viewed 13243 times
Re: nvanadm's Derelictica
Posted: Sat Apr 28, 2012 1:55 pm
by Bonsai
We had more Mitsubishis there, they just didn't match!
Re: nvanadm's Derelictica
Posted: Sat Apr 28, 2012 7:48 pm
by nvanadm
Today I installed a rooftop carrier that I purchased off Kijiji for $80 about a month ago. It's a Thule 250 that was in great shape. I already have the Thule 1050 feet and load bars from the ski rack WE USED TO USE

(when we lived in a place where there were actually mountains... a.k.a BC).
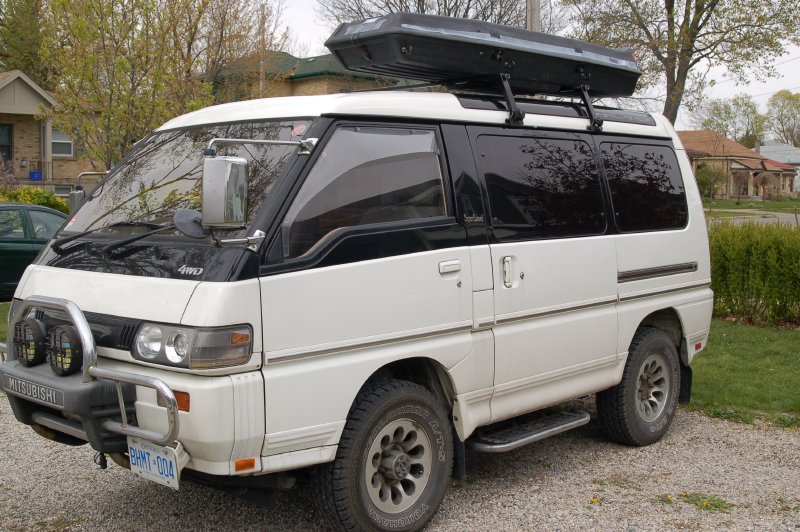
- carrier installed.jpg (123.2 KiB) Viewed 13202 times
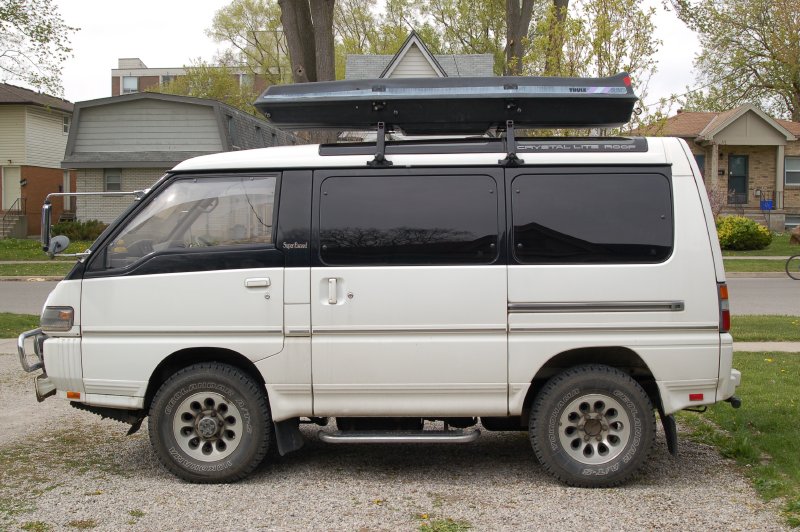
- carrier installed2.jpg (112.76 KiB) Viewed 13202 times
BUT THAT ISN'T THE BEST PART....
Re: nvanadm's Derelictica
Posted: Sat Apr 28, 2012 8:09 pm
by nvanadm
A couple week ago I came up with an idea that I haven't seen anyone do yet. So either i'm the only one to actually go through with it or people have thought of it and i'm just an idiot for actually doing it

(hopefully not the latter).
Ghetto Awning!!
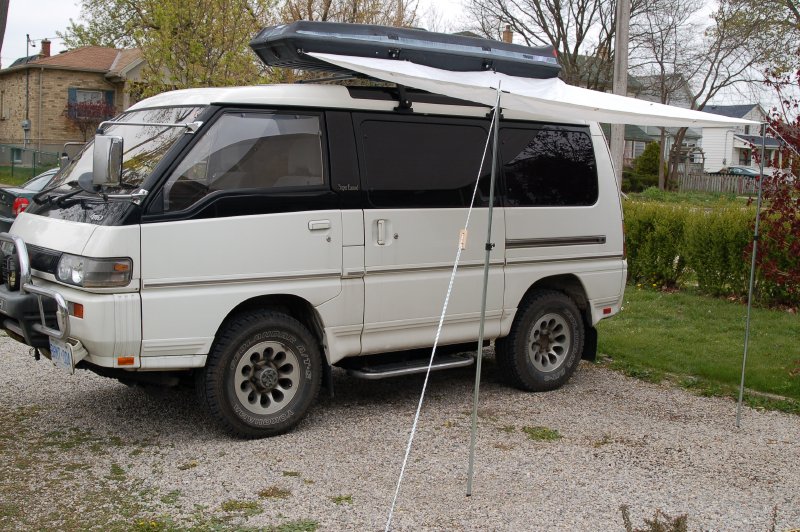
- awning set up.jpg (134.56 KiB) Viewed 13198 times
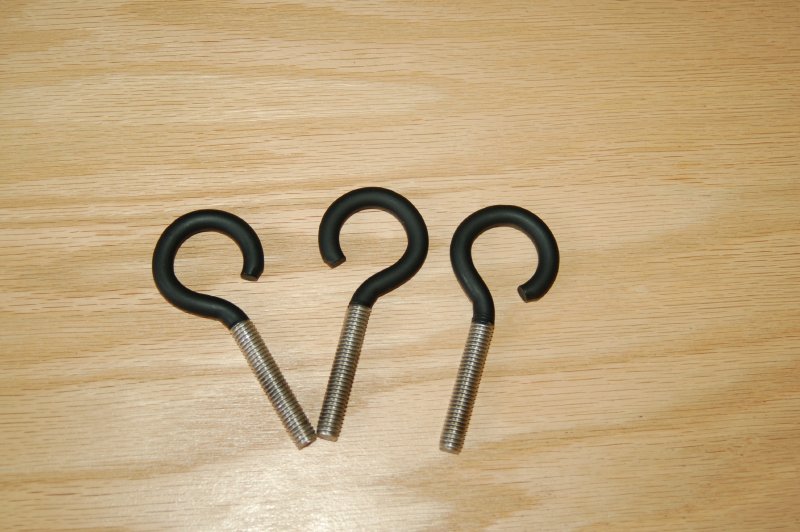
I found some hooks at a local fastener store
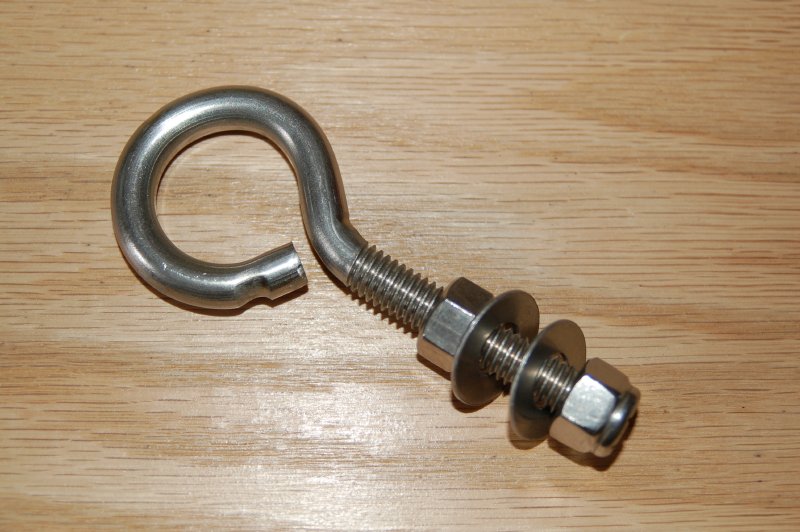
- hook before.jpg (82.48 KiB) Viewed 13198 times
The opening wasn't wide enough for the gromets so we cut them a bit
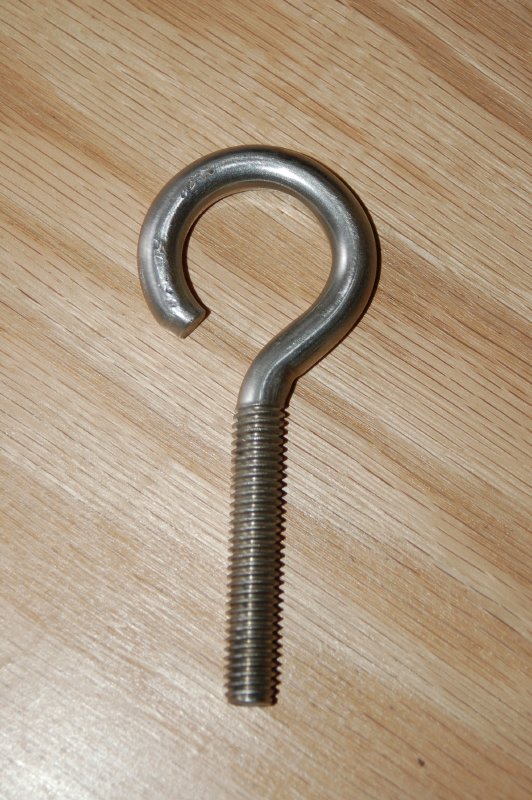
- hook cut.jpg (104.62 KiB) Viewed 13198 times
Then we painted them black so they wouldn't stand out too much from the carrier
- painted hooks.jpg (77.61 KiB) Viewed 13198 times
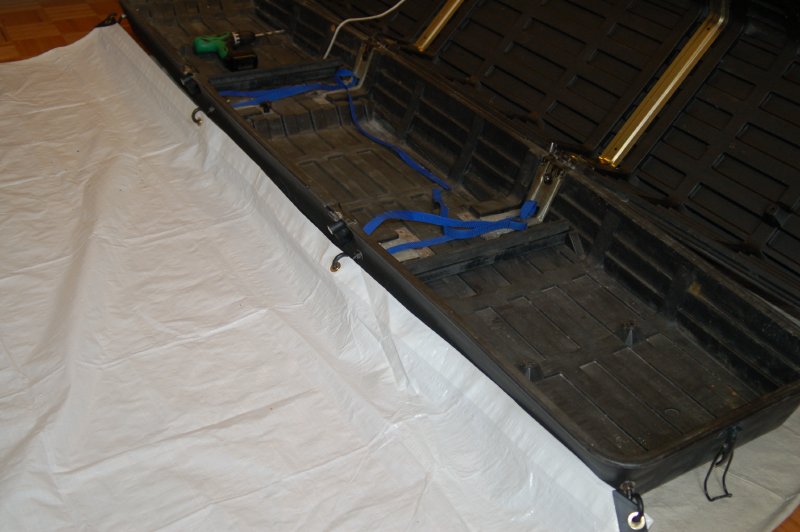
I installed 4 anchor points into the bottom of the rooftop carrier. Installing into the bottom will allow us to still access the carrier if we have the awning set up.
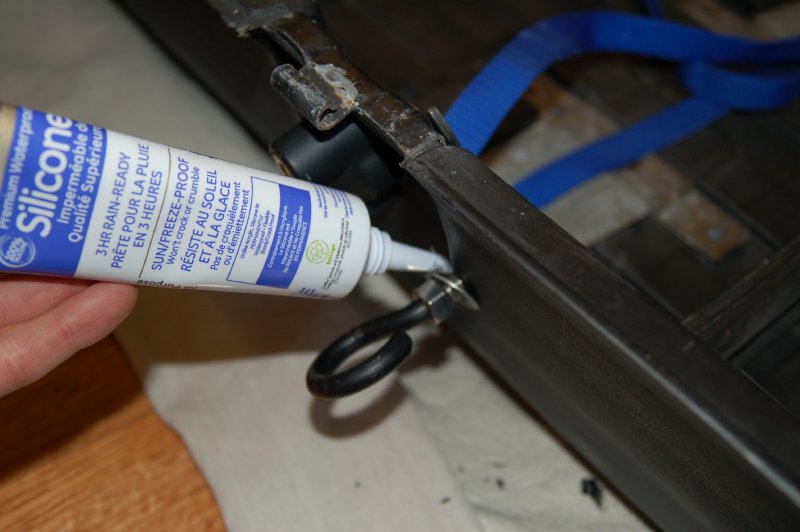
- silicone.jpg (53.94 KiB) Viewed 13198 times
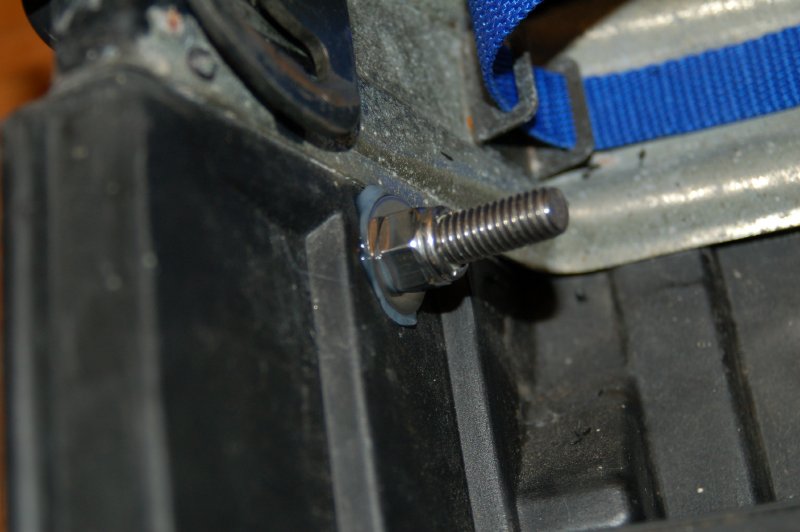
- hook with silicone.jpg (54 KiB) Viewed 13198 times
Used a 6x8' white tarp. We don't need it to be too big, we just want the area of the sliding door covered if it's raining. We chose white because if it is a cloudy day it should still let some light through. And it matches the van and makes it less ghetto-like (if possible).
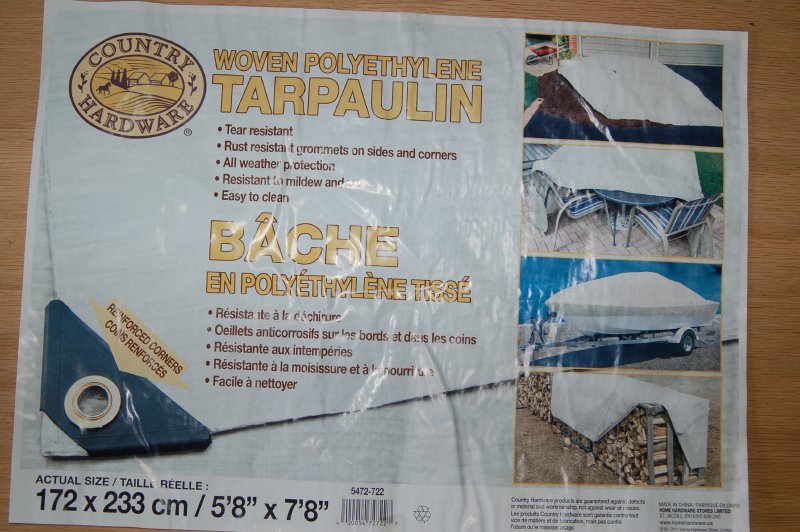
- tarp.jpg (96.42 KiB) Viewed 13198 times
Re: nvanadm's Derelictica
Posted: Sat Apr 28, 2012 8:18 pm
by nvanadm
Ghetto Awning Continued...
We bought two adjustable tent poles from CT
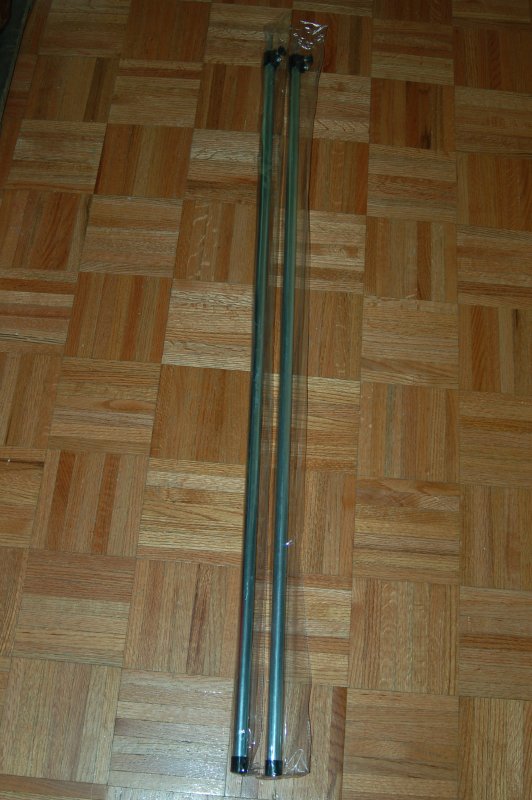
- awning poles.jpg (81.67 KiB) Viewed 13198 times
Then we also bought some rope and tent stakes. We made two little sliding blocks to adjust the tension on the ropes.
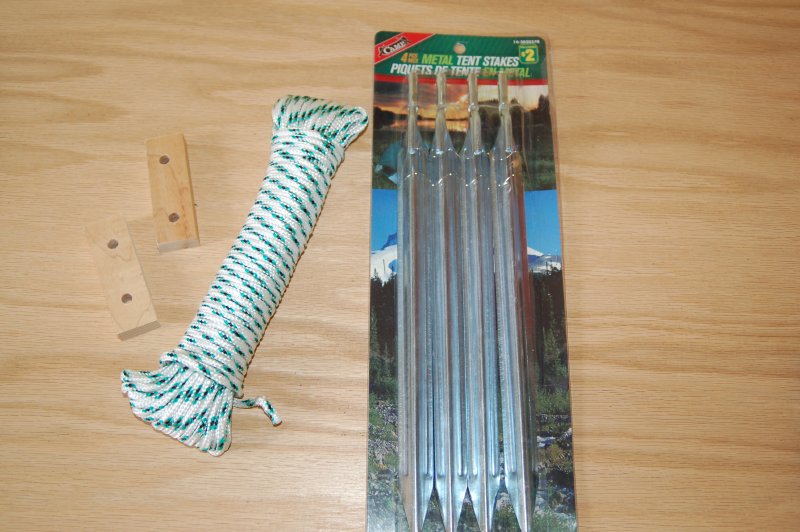
- hardware.jpg (84.69 KiB) Viewed 13198 times
We measured the distance between the gromets and installed our anchors accordingly. Here is the test fit.
- test fit.jpg (61.08 KiB) Viewed 13198 times
And again here it is, the first (I think), Ghetto Awning.
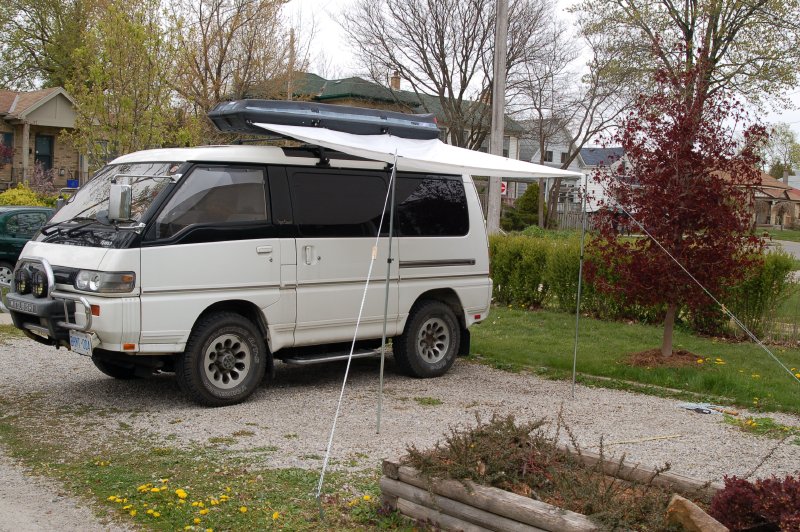
- awning set up2.jpg (154.15 KiB) Viewed 13198 times
Total costs involved...
Thule 250 Rooftop carrier - $80
Extension poles - $20 ($9.99 ea)
Silicone - $4
White tarp - $7
All nuts/bolts/washers - $20
Rope - $2
Stakes - $2
Grand total of...$135
We bought the rooftop carrier before this idea come to me, so we really only spent $55 on making the awning. Much better than $400+
Re: nvanadm's Derelictica
Posted: Mon May 21, 2012 12:10 pm
by nvanadm
So this week I painted my rims. I started this project about 3 weeks ago with my spare. Then I went on to do the other 4 rims but I couldn't get the lug nuts to budge. So then I waited another few weeks to get an air compressor and power tools from my brother-in-law, BUT THAT DIDN'T WORK EITHER
Craig (bonsai rides) finally came to my rescue. I was over at his place helping change some fluids on his Delica, and he had a breaker bar that FINALLY worked.
I had never taken my spare down before, this is what it looked like. Probably didn't even have to paint it

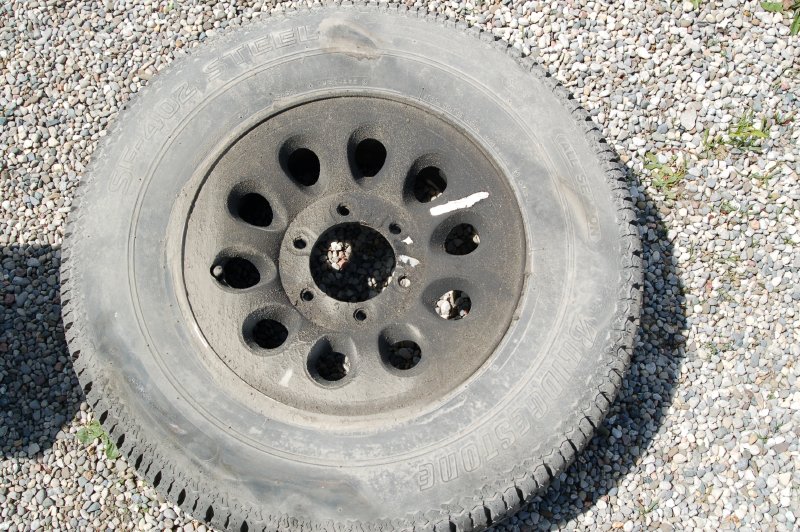
- dirty spare.jpg (151.13 KiB) Viewed 13105 times
Here it is cleaned up.
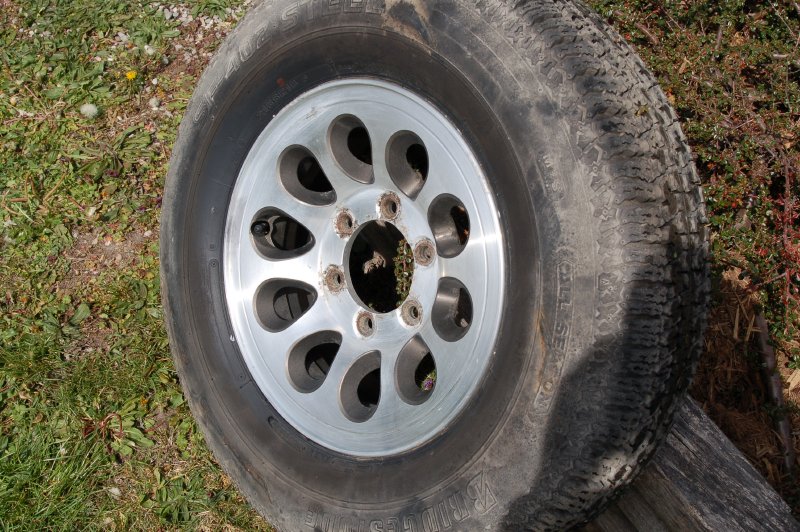
- clean spare.jpg (136.74 KiB) Viewed 13105 times
I primed them first.
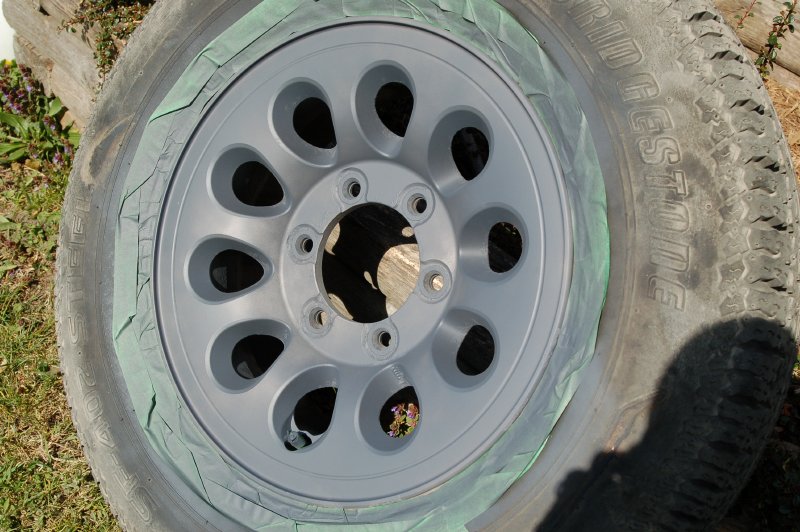
- primed.jpg (98.36 KiB) Viewed 13105 times
Then painted.
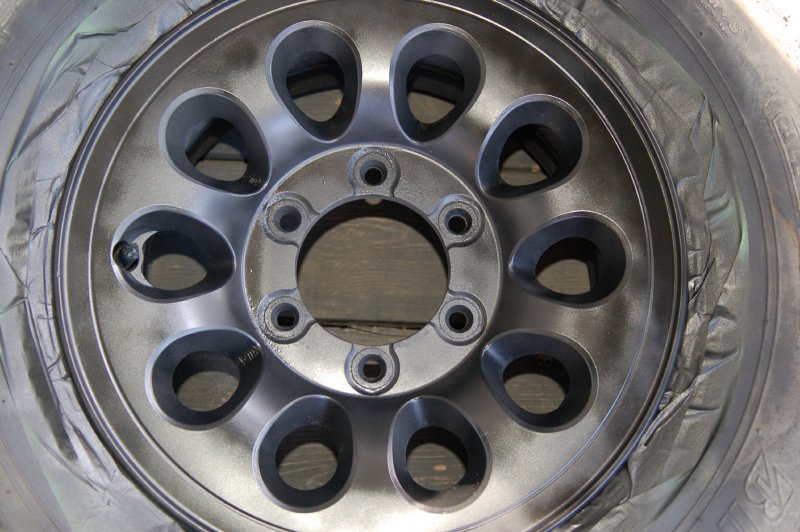
- painted spare.jpg (92.66 KiB) Viewed 13105 times
Painted the hubs too.
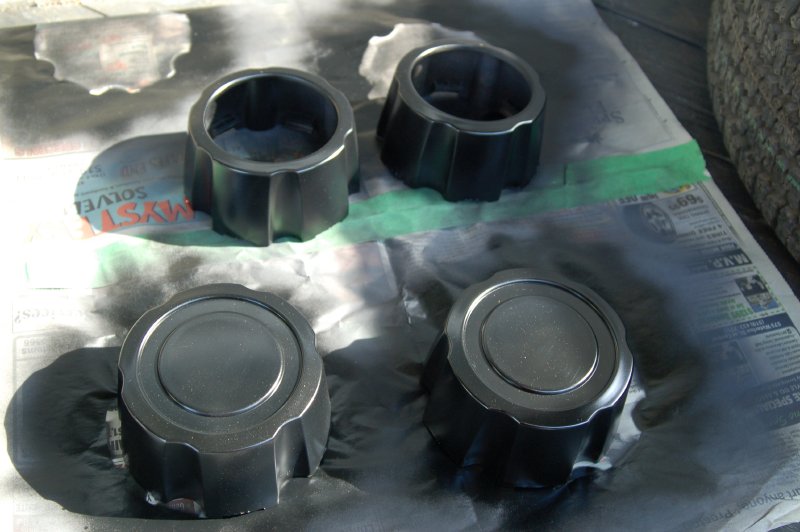
- painted hubs.jpg (64.31 KiB) Viewed 13105 times
Here is what I used.
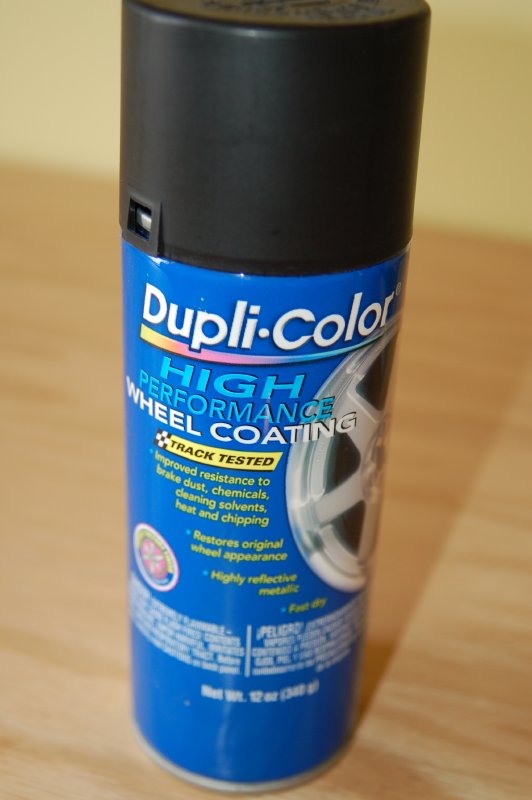
- dupli color.jpg (50.47 KiB) Viewed 13105 times
Done. Got a little overspray on the tires, but I'm sure it will eventually wear off.
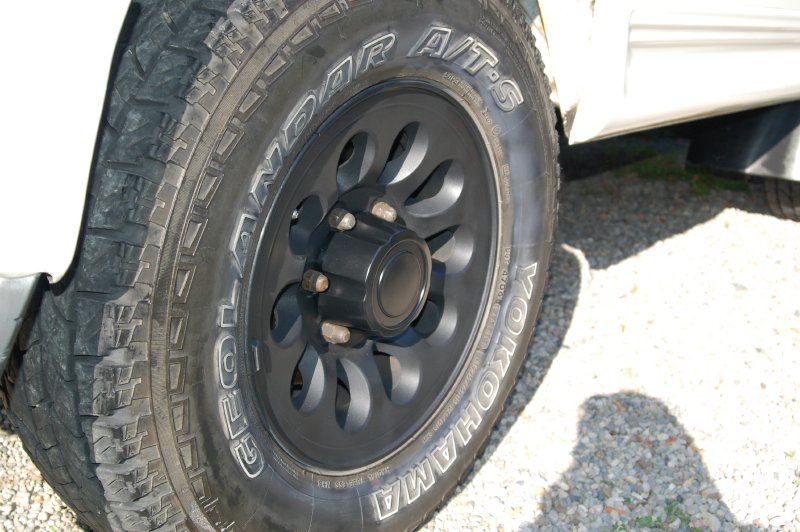
- close up.jpg (86.02 KiB) Viewed 13105 times
Re: nvanadm's Derelictica
Posted: Mon May 21, 2012 12:11 pm
by nvanadm
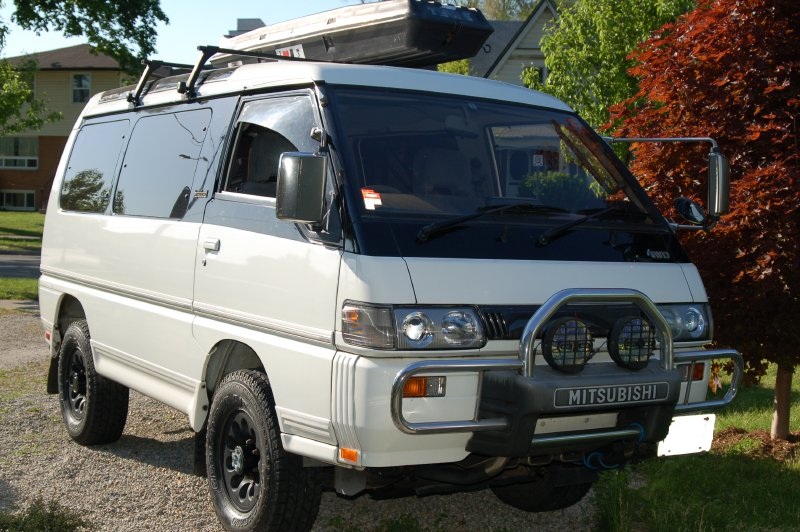
- finished.jpg (161.38 KiB) Viewed 13105 times
- finished2.jpg (93.03 KiB) Viewed 13105 times
Re: nvanadm's Derelictica
Posted: Mon Oct 14, 2013 2:08 pm
by nvanadm
This weekend I thought I would attempt the "Captain Chair Removal Mod" on my L300. I got the idea from Artacoma (
http://www.delica.ca/forum/l400-captain ... 13005.html) who got the idea from RichD. Not sure if anyone has done it on a L300 yet. Turned out great! We wanted to sacrifice a little sleeping space for some more "living" space.
I removed the captain chairs with tracks attached.
- seat removed with tracks.jpg (96.82 KiB) Viewed 12883 times
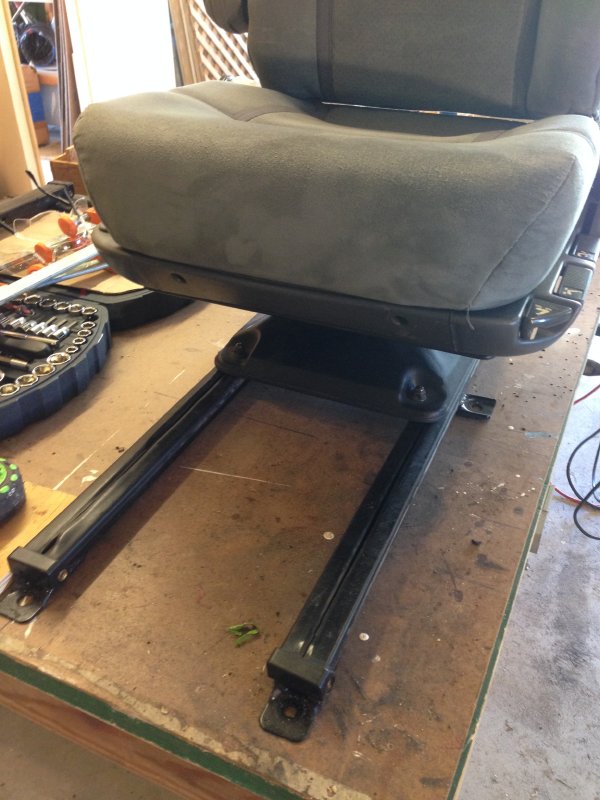
- seat with tracks.jpg (85.95 KiB) Viewed 12883 times
I then removed the seat from the tracks.
- seat out of tracks.jpg (67.03 KiB) Viewed 12883 times
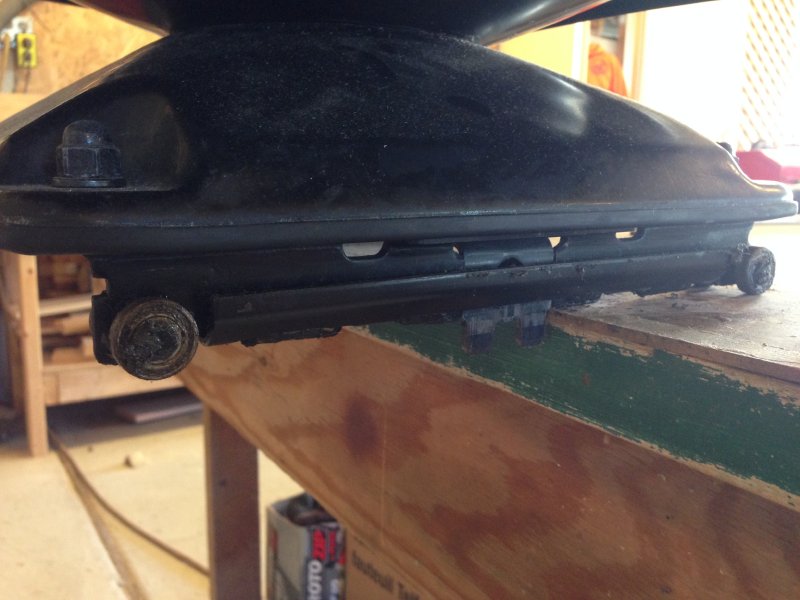
Measured what I needed to notch out. The smallest I could go was 10 3/4".

- tracks measured.jpg (88.73 KiB) Viewed 12883 times
Then started cutting. I let my father in law do the first one.
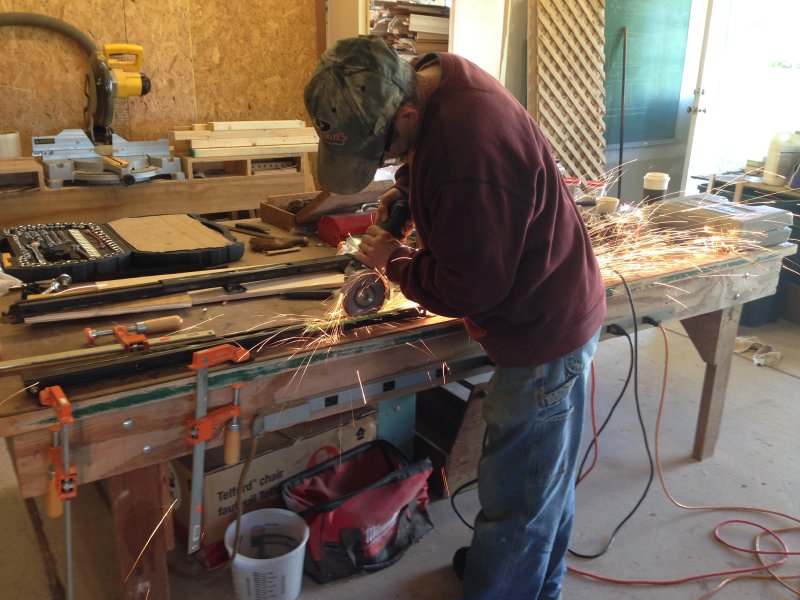
- cutting tracks.jpg (101.37 KiB) Viewed 12883 times
Re-installed the tracks.

- tracks cut and reinstalled.jpg (107.63 KiB) Viewed 12883 times
Finished...just needed to drop the seats in.
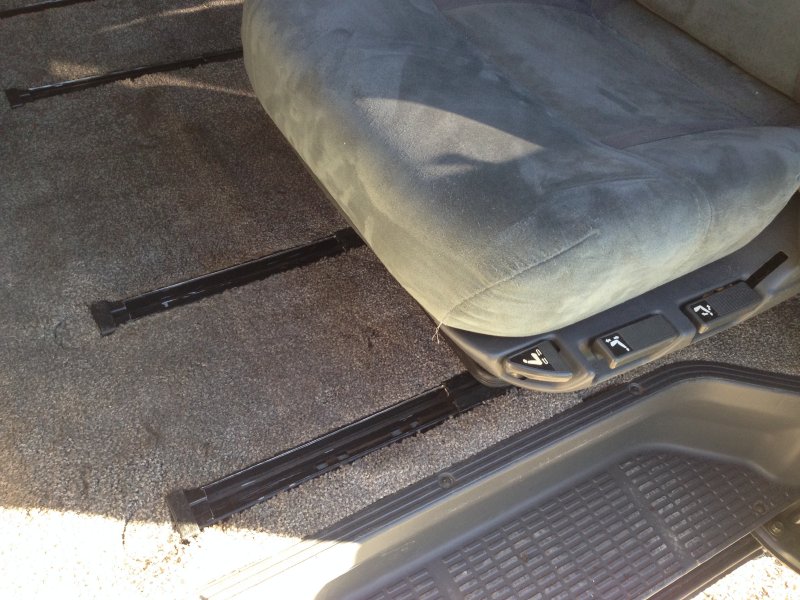
- seat reinstalled.jpg (102.75 KiB) Viewed 12883 times
I didn't get a chance to cut wood blocks to fit into the notch but I will do that shortly.
Re: nvanadm's Derelictica
Posted: Mon Oct 14, 2013 2:31 pm
by nvanadm
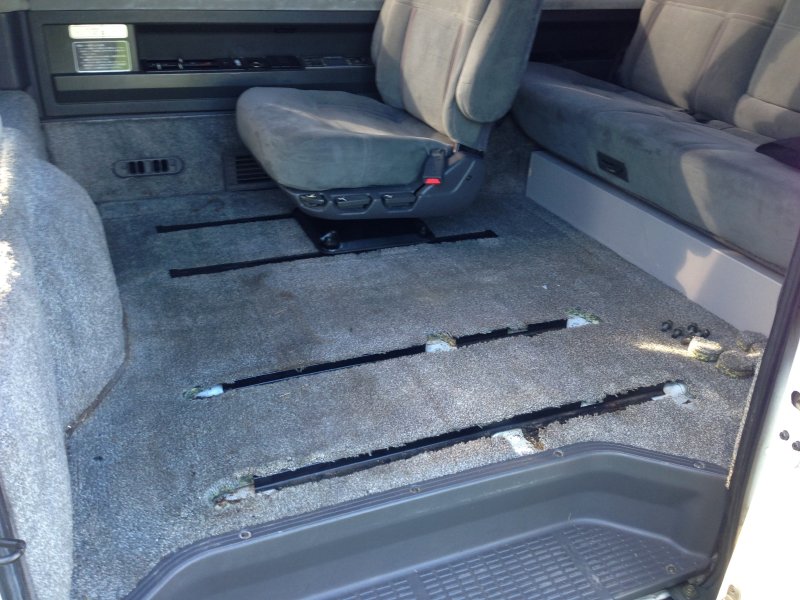
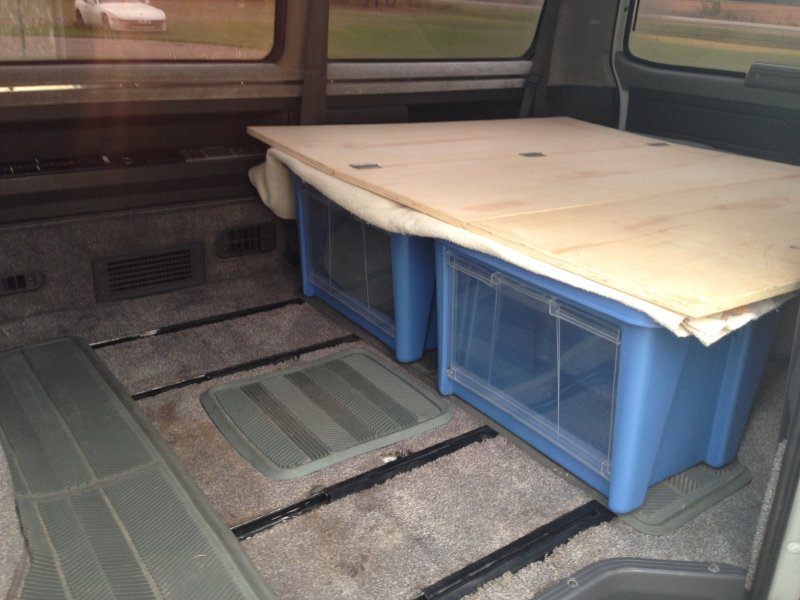
The reason we did the "Captain Chair Removal Mod" was to free up some more "living" space. Our bed used to take up pretty much the whole van. We had maybe 12" between the foot of our bed and the engine hump.
This is what our bed set up used to look like. Yes, it was very comfortable for sleeping, but it felt really crowed when trying to do anything else. Especially get dressed.
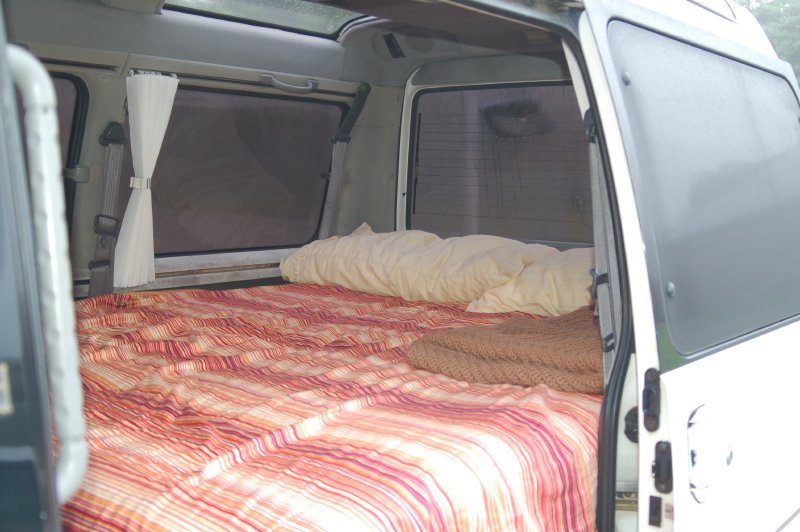
- bed.jpg (77.34 KiB) Viewed 12882 times

- cooler shelf.jpg (89.66 KiB) Viewed 12882 times
- net4.jpg (83.2 KiB) Viewed 12882 times
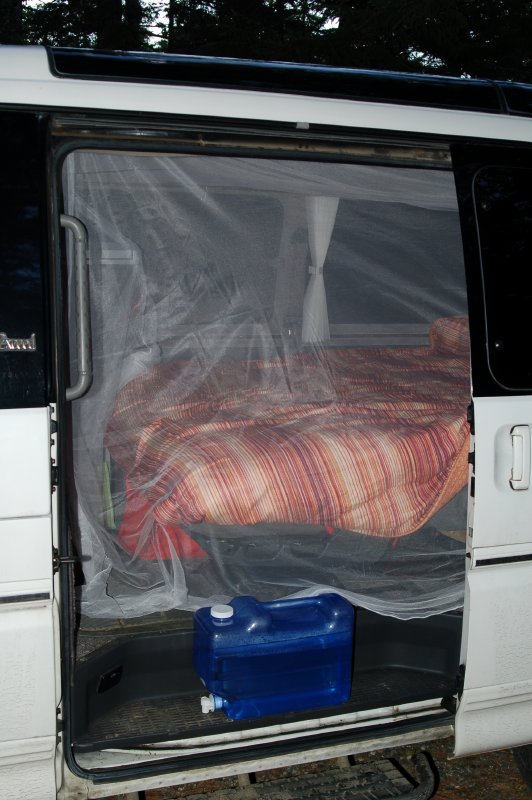
Now that we can easily take our captains chairs out we can make our bed a little smaller and free up some more space.
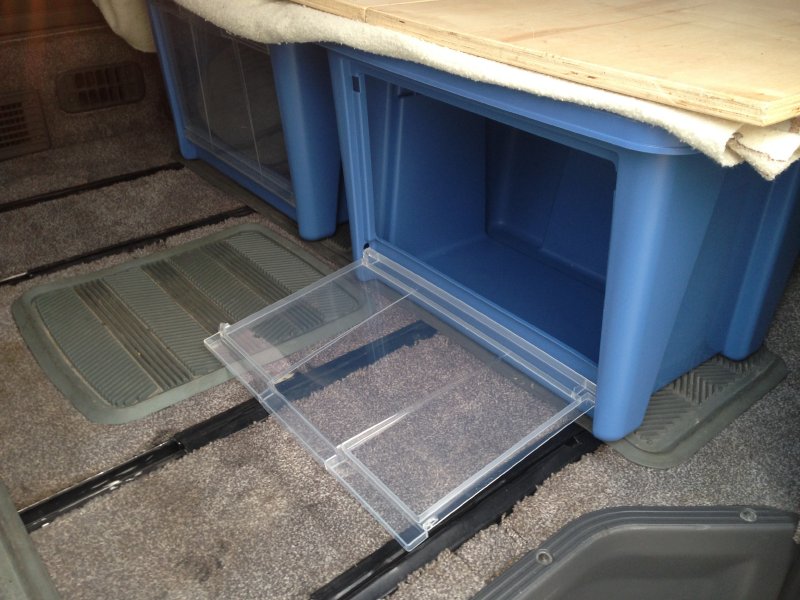
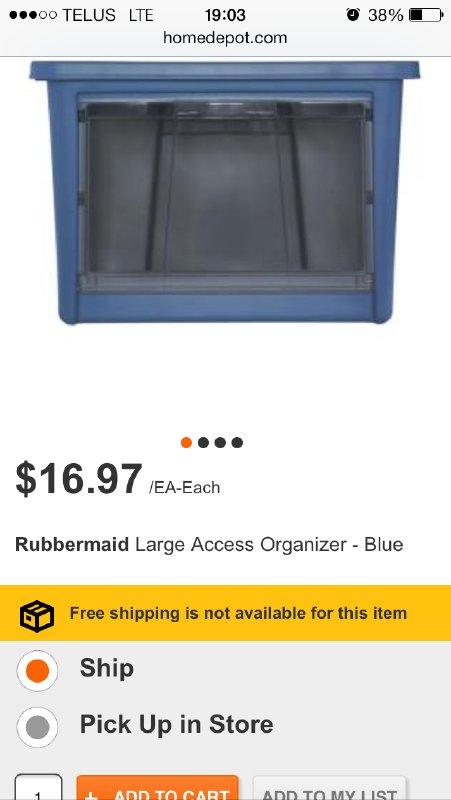
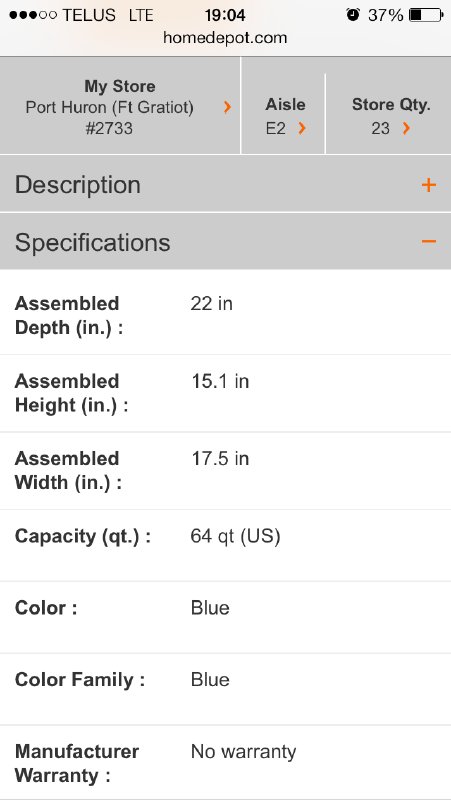
We also found these really cool Rubbermaid bins at Home Depot in the States. They have an access door on the front so we won't have to move them at all to get into them. They will also support the foot of the bed (not much weight). We think we will probably use one for dry food storage and one for dirty laundry. We're not too sure yet.
We will probably pull the bins a little more forward. We haven't decided on our new bed size yet. Pictures are pretty bare. I didn't have time to put the mattress out and get it all set up. This was just a quick test run.
- revised bed with more storage.jpg (76.15 KiB) Viewed 12882 times
- new bins with access doors.jpg (92.57 KiB) Viewed 12882 times
- bin1.jpg (42.43 KiB) Viewed 12882 times
- bin2.jpg (42.18 KiB) Viewed 12882 times
Re: nvanadm's Derelictica
Posted: Tue Oct 22, 2013 7:14 pm
by macro
Looks great! I feel ya about the bed space. I use an air bed and when everything is all set up you can't really do anything back there. Getting dressed is like trying to do yoga in a cupboard.
Re: nvanadm's Derelictica
Posted: Mon Dec 02, 2013 1:07 pm
by nvanadm
Re: nvanadm's Derelictica
Posted: Mon Dec 02, 2013 1:30 pm
by nvanadm
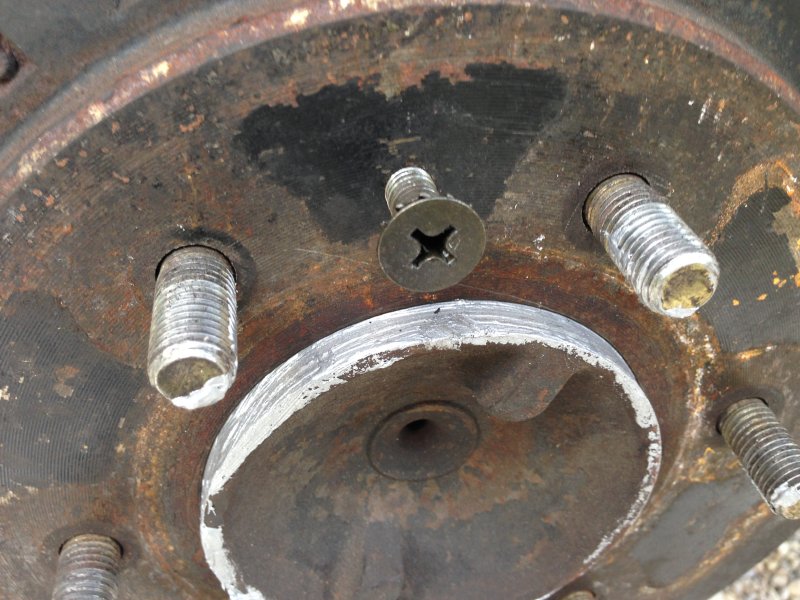
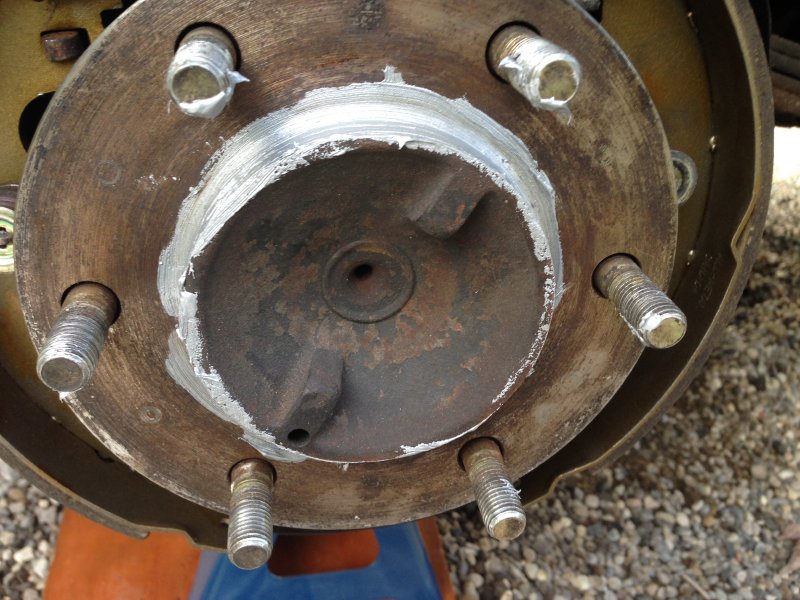
Replaced the front brake pads and rear brake shoes. Thanks to Craig (bonsai rides) for giving me a hand.
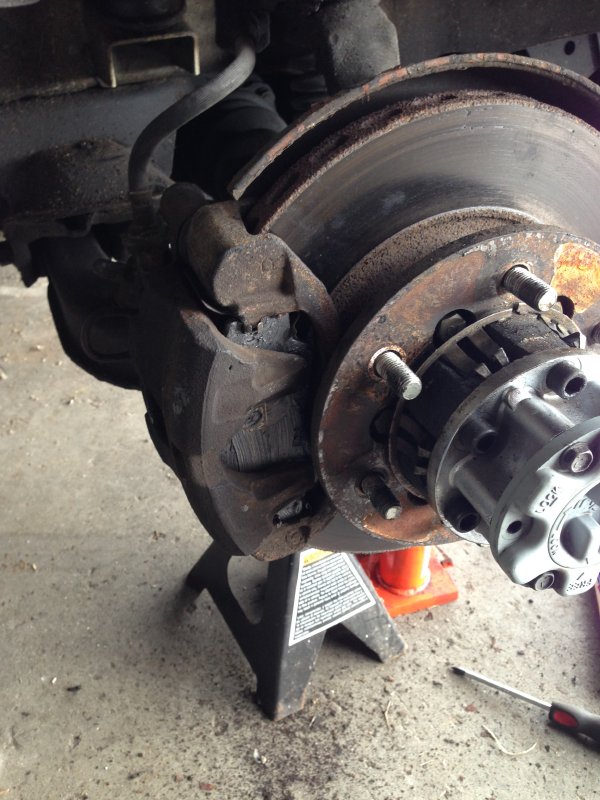
- pads.jpg (99.35 KiB) Viewed 12818 times
- shoes.jpg (97.39 KiB) Viewed 12818 times
Before installing the new shoes, make sure you screw the "fork" on a bit (big circle...not sure what's it's called). It makes adjusting the shoes easier. Be sure to adjust the shoes (small circle) so that you can barely get the drum on. This will put the shoes close to the drum therefore needing less pressure on the brake pedal to stop.
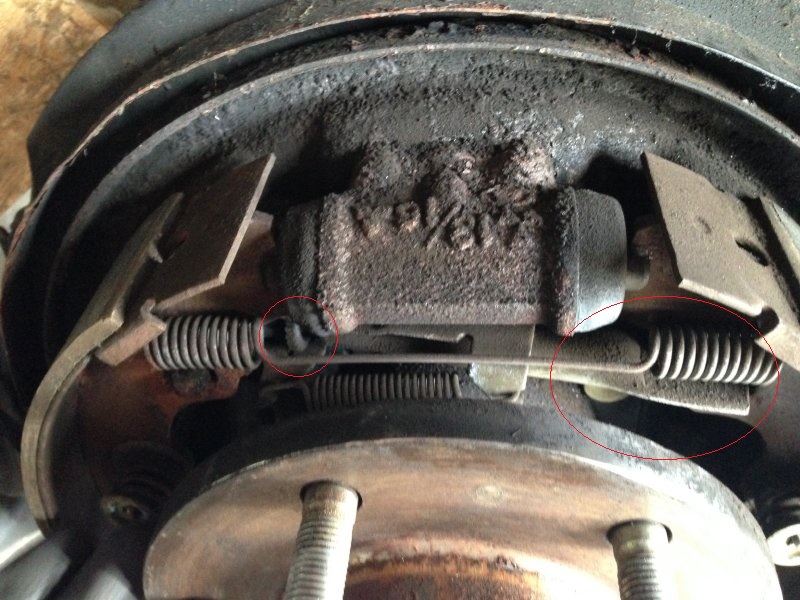
- pad adjustment.jpg (157.56 KiB) Viewed 12818 times
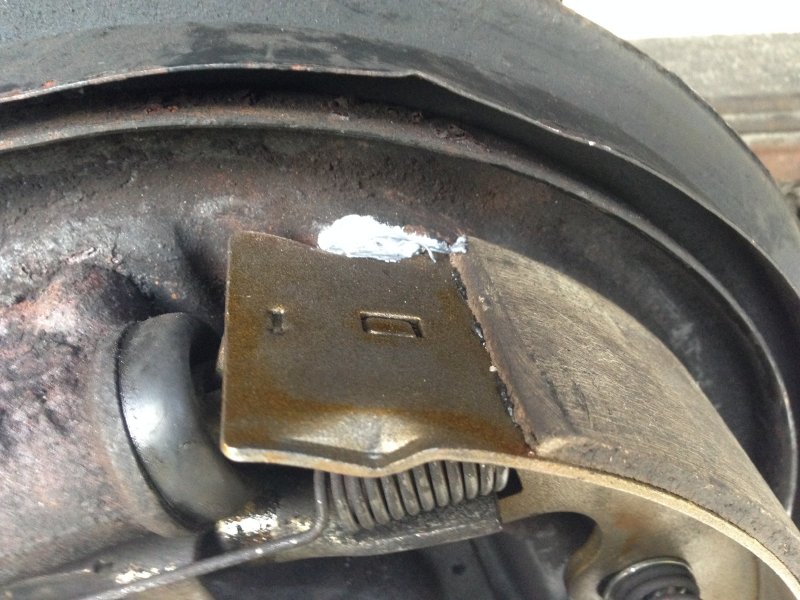
If you're really in a pickle trying to get the drums off...like we were, we discovered that the bolt from the front door fits PERFECT!
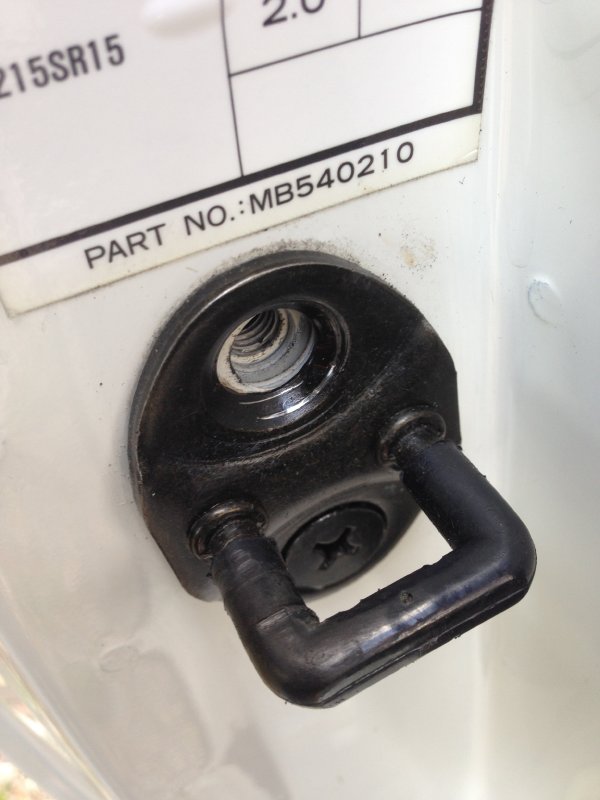
- hinge bolt.jpg (55.42 KiB) Viewed 12818 times
- easy drum removal.jpg (104.01 KiB) Viewed 12818 times
And don't forget to add some anti-seize so next time you need to remove the drums it hopefully won't be so bad.
- anti seize.jpg (107.18 KiB) Viewed 12818 times
Re: nvanadm's Derelictica
Posted: Mon Dec 02, 2013 3:34 pm
by nvanadm
outdated
Re: nvanadm's Derelictica
Posted: Mon Dec 02, 2013 4:56 pm
by nvanadm
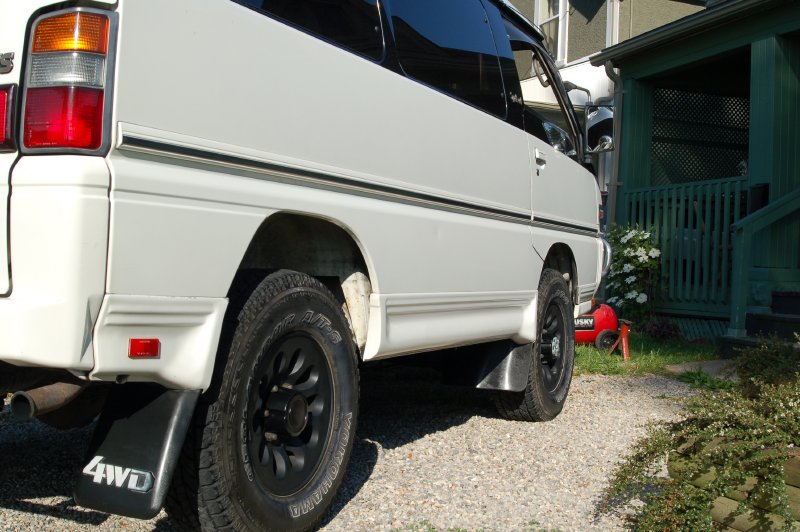
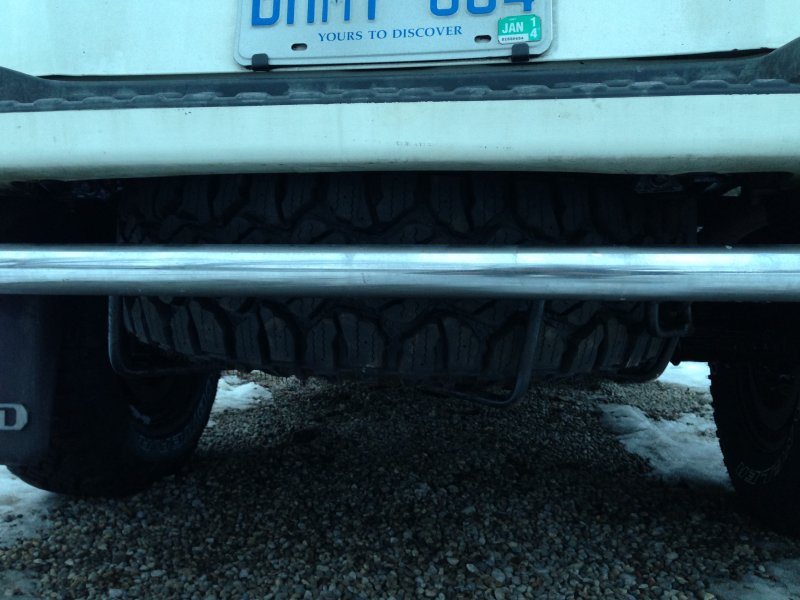
Finally replaced my 5 year old Geolanders for a set of Duratrac's
Out with the old...

- Old Geolander.jpg (99.39 KiB) Viewed 12802 times
In with the new...
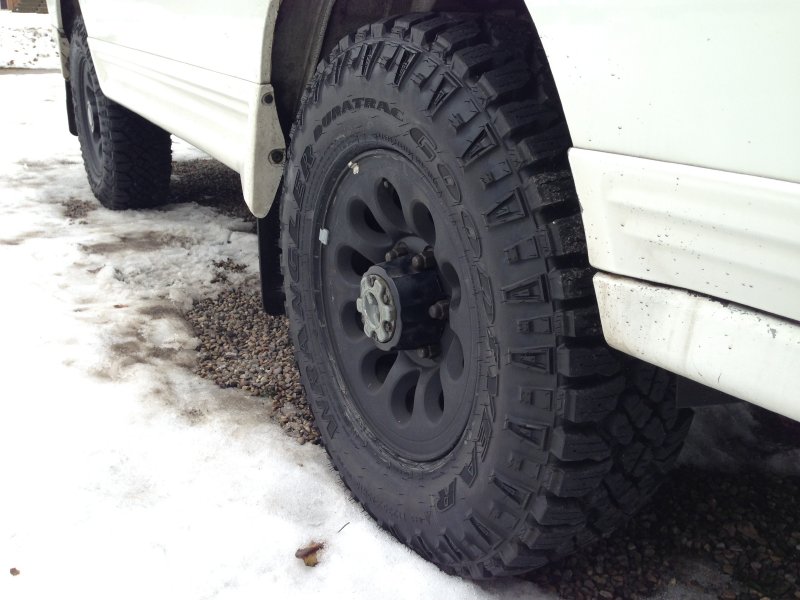
- Duratrac1.jpg (74.48 KiB) Viewed 12802 times
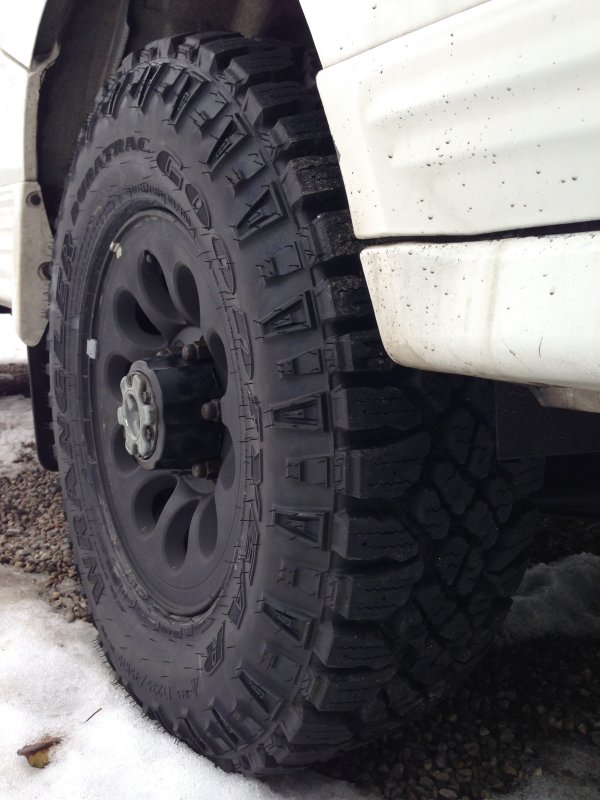
- Duratrac2.jpg (76.94 KiB) Viewed 12802 times
And a 5th Duratrac just incase

(actually I will do a 5 tire rotation every 10-15k to keep them worn evenly)
- Duratrac3.jpg (75.61 KiB) Viewed 12802 times